Showing posts with label Christmas. Show all posts

Thursday, December 18, 2014

paint prints for Christmas

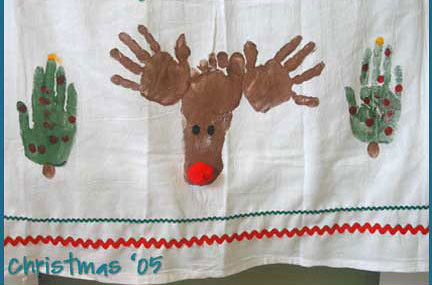
the boys and I found some time after Thanksgiving to do a little Christmas crafting for their grandmothers.  this holiday season wasn't feeling much like Christmas for me for various reasons, but I really wanted to make these cute penguin prints and I think this project helped get me more in the mood for festivities :)
I picked up a couple of white aprons from Hobby Lobby to decorate.  all the boys had to do was sit still for a black footprint, and I painted the details on after those were dry.  the simple footprints ended up being a lot messier than I remember on past paint projects.  maybe it was the black paint on the white surface... I don't know.  they still came out cute.
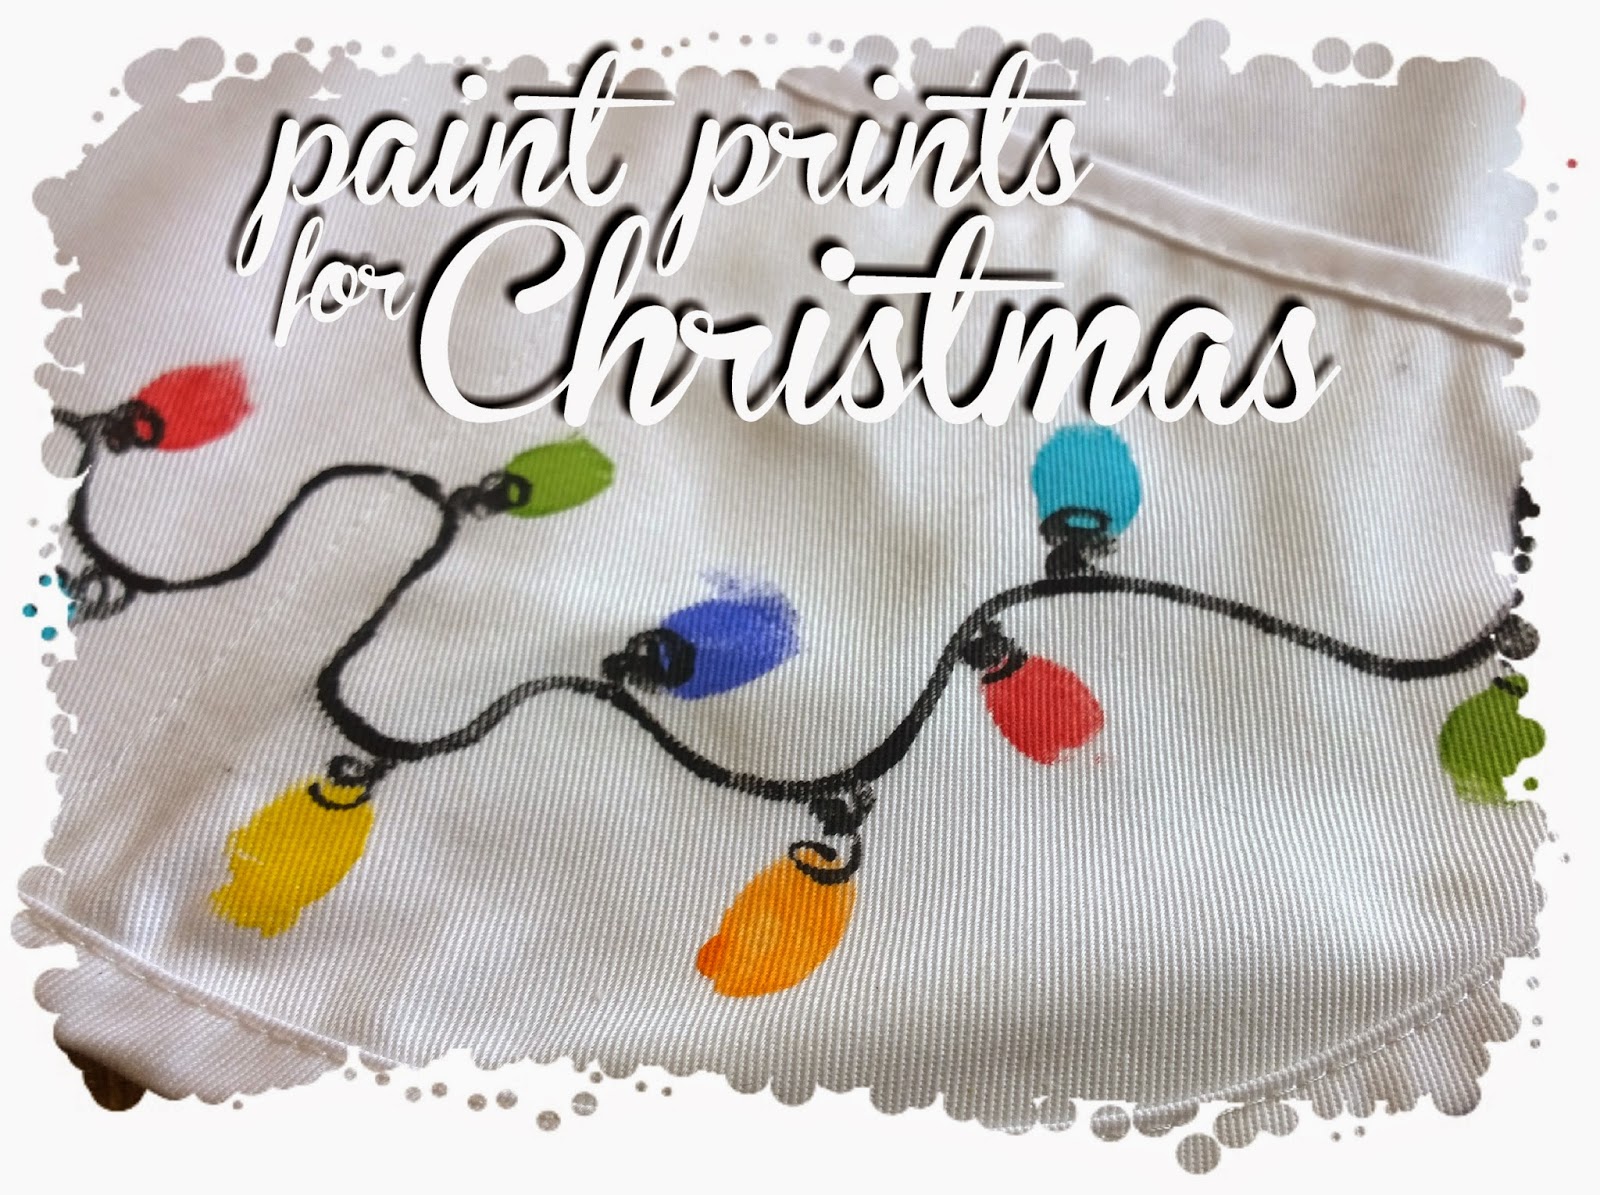
we added some fingerprint string lights for a border, which I think really helped finish it off.  this was time consuming, but easier to control than the footprints since we went one finger at a time instead of a whole foot.  I added their names and year as well.
there's still room at the bottoms to add more, so maybe next year we can add some reindeer.

Monday, December 15, 2014

Jack's Christmas stocking

I forgot to post about Jack's Christmas stocking last year.  poor guy has just slipped through the cracks ;)  but I did make it in time for his first Christmas.
I decided I didn't like the fabric I chose after I finished it, but I'm used to it now.  I think it makes the colored felt pop a little more.
  
he of course got a Jackalope, I put a xylophone on it to remember one of the first Christmas gifts we gave him, and his snowman is a cowboy.
I was on the fence about putting "Jackers" on it, but since that silly name has followed him beyond the family (and it'll probably stick until he's old enough to tell us to stop calling him that) I went ahead and did it.  he might not even notice.  I didn't notice mine said Candi until I was in highschool!
I loved seeing all our matching stockings out growing up, and hearing the jingle bells when they moved - such a simple but fond memory of Christmas as a kid.  it's something that I'm glad I carried over to our family :)  I'm already gathering ideas for the stocking I will be making next year!

Thursday, December 11, 2014

handmade for Christmas

we're mostly packed up here waiting to move into our new house, so my crochet stuff is really the only craft stuff I have access to anymore... not that I've been doing much else in the way of crafts for a while now!  I'm looking forward to having a room again that I can keep my sewing machine set up in, and maybe a table to work on my jewelry.  until then I'm just crocheting when I get a chance.  here are some gifts I made and sent to my brother in Shreveport for Christmas.
I made a square hat for Abbie with a zig-zag puff stitch.  I had to make the construction of this hat up as I went, but it's pretty forgiving since it doesn't have any shaping to it.  joining the puff stitches in each round was the hard part, but I made it work.  this could totally be done as a flat piece and then seamed together, though.  I put tassels on the top corners to look like pig tails, and I made some boots with puff stitch flowers on them to match the hat.
Ava got a striped slouchy hat (another pattern I made up as I went) and I added a puff stitch flower to the bottom band.  I used Red Heart Soft for all of these hats, which gets even softer when you steam or wash it.  I steamed the slouchy part of this hat which made it lay really nice, but I made sure to leave the band at the bottom alone in case it relaxed too much.
Ashton's hat is an earflap beanie that I decided to find an actual pattern for.  I used Micah Makes free pattern, but I added an extra row of single crochet to the edge and put a line of fringe on top for a mohawk.

Monday, December 8, 2014

advent calendar garland: finished!

this was a fun project to work on, and I finished it just in time!  the garland is hung with some clear command hooks in our entryway, but I'm hoping next Christmas, in our new house, we'll have a better place to hang it.
I wasn't sure how to hang these up to begin with, but after I finished them all off I decided to just make a long chain and attach them at each loop.  I might do something different with them later on, but I'd just have to undo to chain and they'll all be detached again.  maybe when the kids are older they can be hung on the tree after each day.
I used some number beads and buttons on each one, which are also easily removable in case I brainstorm a different way of hanging and numbering them in the future.  Leo has been good at keeping track of what day it is, so if nothing else I'm really glad to have this to help him understand dates!
I stuffed each one with a small goody for the boys to have everyday until Christmas, and the boys were already excited about it after the first day.  they wake me up early each morning to see what is in the next one.

Tuesday, November 11, 2014

advent calendar garland: crochet hats

I winged this pattern the first time and it came out exactly as I hoped, so I wrote it down.  I did it bottom up, which I normally don't like to do, but this one made sense to do that way since it was pointy, and the ribbing would match the look of the mittens and stockings (patterns available here and here).  you'll need 12 hats for the garland.
hat pattern

ribbing:
ch 7, 1 sc into back bump of 2nd ch from hook and following 5 sts, ch 1 and turn.
1 sc into back loop of each st across, ch 1 turn.  repeat for 26 more rows.
fold ribbing in half and sl st closed.

body of hat:
ch 1, make 30 sc sts, equally spaced, around the top edge of ribbing, sl st to join round.
ch 1, sc into each stitch around, sl st to join.  repeat for 4 more rounds.

decreasing:
ch 1, *1 sc into next 4 sts, 1 sc2tog, repeat from * 4 more times, sl st to join.
ch 1, 1 sc into each st around, sl st to join.
ch 1, *1 sc into next 3 sts, 1 sc2tog, repeat from * 4 more times, sl st to join.
ch 1, 1 sc into each st around, sl st to join.
ch 1, *1 sc into next 2 sts, 1 sc2tog, repeat from * 4 more times, sl st to join.
ch 1, 1 sc into each st around, sl st to join.
ch 1, *1 sc into next sts, 1 sc2tog, repeat from * 4 more times, sl st to join.
ch 1, 1 sc into each st around, sl st to join.
ch 1, 5 sc2tog, sl st to join.
ch 1, 1 sc into each st around, sl st to join.
fasten off with a 10" tail, using yarn needle, thread yarn tail through the front loop of the remaining 8 sts and pull tight.
weave in ends.

attach pom pom to top of hat.

optional loop:
fold hat in half, attach yarn to the top left corner of ribbing, ch 10, sl st to first ch, tie knot with starting tail and weave in ends.
Monday, November 10, 2014

advent calendar garland: crochet stockings

I sorta mixed-n-matched some patterns to make a stocking.  I used the basic starting point of the mittens (check out the previous post here for the pattern), but didn't increase for the thumb part of the hand.  when it was long enough to my liking, I did the heel and toe like Yolanda demonstrates in her Christmas stocking video tutorials.  you'll need 7 stockings for the garland.
stocking pattern

ribbing:
ch 7, 1 sc into back bump of 2nd ch from hook and following 5 sts, ch 1 and turn.
1 sc into back loop of each st across, ch 1 turn.  repeat for 20 more rows.
fold ribbing in half and sl st closed.

body of stocking:
use the same color yarn or attach new color.
ch 1, make 24 sc sts, equally spaced, around the top edge of ribbing, sl st to join round.
ch 1, sc into each stitch around, sl st to join.  repeat for 8 more rounds.

heel:
use the same color yarn or attach new color.
ch 1, sc into 12 sts, ch 1 and turn.
sc2tog into first 2 sts, 1 sc into each st across, sc2tog into last 2 sts, ch 1 and turn.
repeat decreasing row until you have 4 sts left.
2 sc into first st, 1 sc into each st across, 2 sc into last st, ch 1 and turn.
repeat increasing row until you have 12 sts again, ch 1 turn.
1 sc into all 12 sts across.
fold heel in half, right sides facing, and sl st or whip stitch seams together. 

foot:
use the same color yarn or pick up yarn from before the start of the heel.
ch 1, sc around ankle and heel (24 sts), sl st to join, ch 1 and turn.
1 sc into each st around, sl st to join, ch 1 and turn. repeat for 6 more rounds.

toe:
use the same color yarn or attach new color.
ch 1, *1 sc into first 4 sts, sc2tog.  repeat from * around, sl st to join, ch 1 and turn.
*1 sc into 3 sts, sc2tog.  repeat from * around, sl st to join, ch 1 and turn.
*1 sc into 2 sts, sc2tog.  repeat from * around, sl st to join, ch 1 and turn.
*1 sc into 1 st, sc2tog.  repeat from * around, sl st to join, ch 1 and turn.
sc2tog 4 times, sl st to join.
fasten off with a 10" tail, using yarn needle, thread yarn tail through the front loop of the remaining 4 sts and pull tight.
weave in ends.

optional loop:
fold stocking in half with heel on the left side, attach yarn to the top left corner of ribbing, ch 10, sl st to first ch, tie knot with starting tail and weave in ends.

Sunday, November 9, 2014

advent calendar garland: crochet mittens

I saw a mini mitten garland in one of the shops on the Strand in Galveston and thought along with some stockings and hats, it would make a cute little advent calendar.

I started crocheting November 1st, my goal to make one a day so by December 1st it would be ready to go.  I always cram too much into my holiday seasons, why would being pregnant, having an ill household, and house hunting make the slightest difference in the workload I put on myself? :\  so far it's going okay, though.  one a day is definitely a doable goal.

I'm using up leftover scraps from my yarn stash, other stuff I had on hand, and the patterns are free.  this project mostly cost me my time in the evenings while I watch TV, so besides it coming along to be adorable, it is practically free and I love that! :)

so this first pattern is mittens.  you'll only need 6 of these. I would say this is the more difficult of the patterns, so once you learn this one the rest will come easier.

the preschool size mittens pattern from CrochetMe is what I'm using.  I usually prefer videos, but this written pattern is easy enough to follow.  I think hers is worked in a continuous circle from the way it's written, but the copy I have below is written so that each round is joined.  it's still basically the same, I just typed it out so it was easier for me to work from.

mitten pattern

ribbing:
ch 7, 1 sc into back bump of 2nd ch from hook and following 5 sts, ch 1 and turn.
1 sc into back loop of each st across, ch 1 turn.  repeat for 19 more rows.
fold ribbing in half and sl st closed.

body of mitten:
ch 1, make 23 sc sts, equally spaced, around the top edge of ribbing, sl st to join.
ch 1, 1 sc into each of the next 10 sts, 2 sc into the next st, 1 sc into each of the next 2 sts, 2 sc into the next st, 1 sc into each of the next 9 sts, sl st to join.
ch 1, 1 sc into each st around, sl st to join.
ch 1, 1 sc into each of the next 11 sts, 2 sc into the next st, 1 sc into each of the next 2 sts, 2 sc into the next st, 1 sc into each of the next 10 sts, sl st to join.
ch 1, 1 sc into each st around, sl st to join.
ch 1, 1 sc into each of the next 12 sts, 2 sc into the next st, 1 sc into each of the next 2 sts, 2 sc into the next st, 1 sc into each of the next 11 sts, sl st to join.
ch 1, 1 sc into each st around, sl st to join.
ch 1,1 sc into each of the next 13 sts, 2 sc into the next st, 1 sc into each of the next 2 sts, 2 sc into the next st, 1 sc into each of the next 12 sts, sl st to join.
ch 1, 1 sc into each st around, sl st to join.
ch 1, 1 sc into each of the next 14 sts, 2 sc into the next st, 1 sc into each of the next 2 sts, 2 sc into the next st, 1 sc into each of the next 13 sts, sl st to join.
ch 1, 1 sc into each of the next 12 sts, skip the next 10 sts (for thumb), 1 sc into each of the next 11 sts, sl st to join.
ch 1, 1 sc into each st around, sl st to join.
repeat previous round for 9 more rounds.
ch 1, [1 sc into each of the next 6 sts, sctog] 2 times, 1 sc into each of the next 5 sts, sc2tog, sl st to join.
ch 1, [1 sc into each of the next 3 sts, sc2tog] 4 times, sl st to join.
ch 1, 1 sc into each st around, sl st to join.
ch 1, sc2tog 8 times, sl st to join.
fasten off with a 10" tail, using yarn needle, thread yarn tail through the front loop of the remaining 8 sts and pull tight.
weave in ends.

thumb:
join yarn to any thumb stitch and make 10 sc stitches around, sl st to join.
ch 1, 1 sc into each st around, sl st to join. repeat for 5 more rows.
ch 1, sc2tog 5 times, sl st to join.
fasten off with a 10" tail, and using yarn needle, thread yarn tail through the front loop of the remaining 5 sts and pull tight.
weave in ends.

optional loop:
fold mitten in half with thumb on the right side, attach yarn to the top left corner of ribbing, ch 10, sl st to first ch, tie knot with starting tail and weave in ends.

Thursday, January 3, 2013

sound ornament

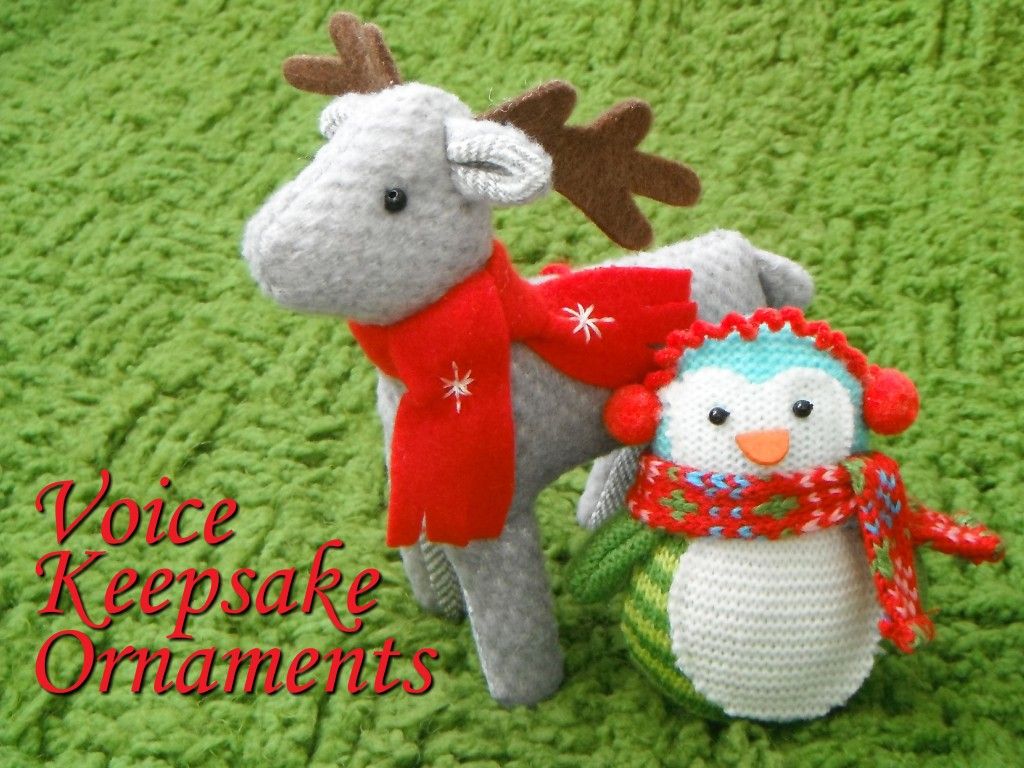
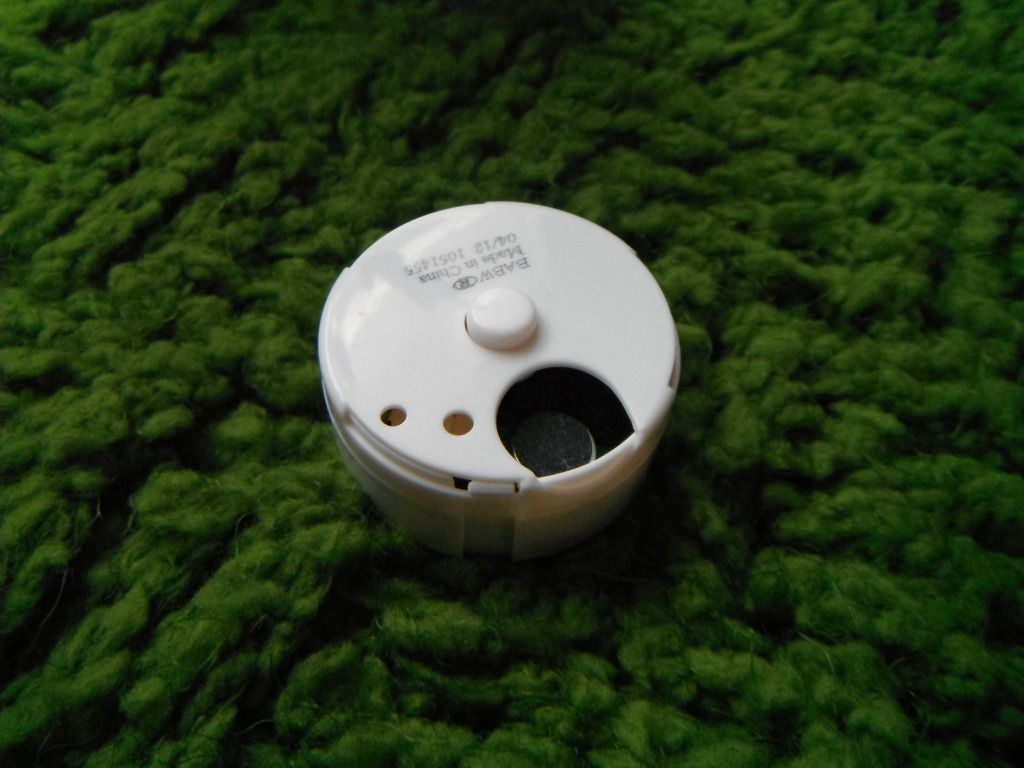
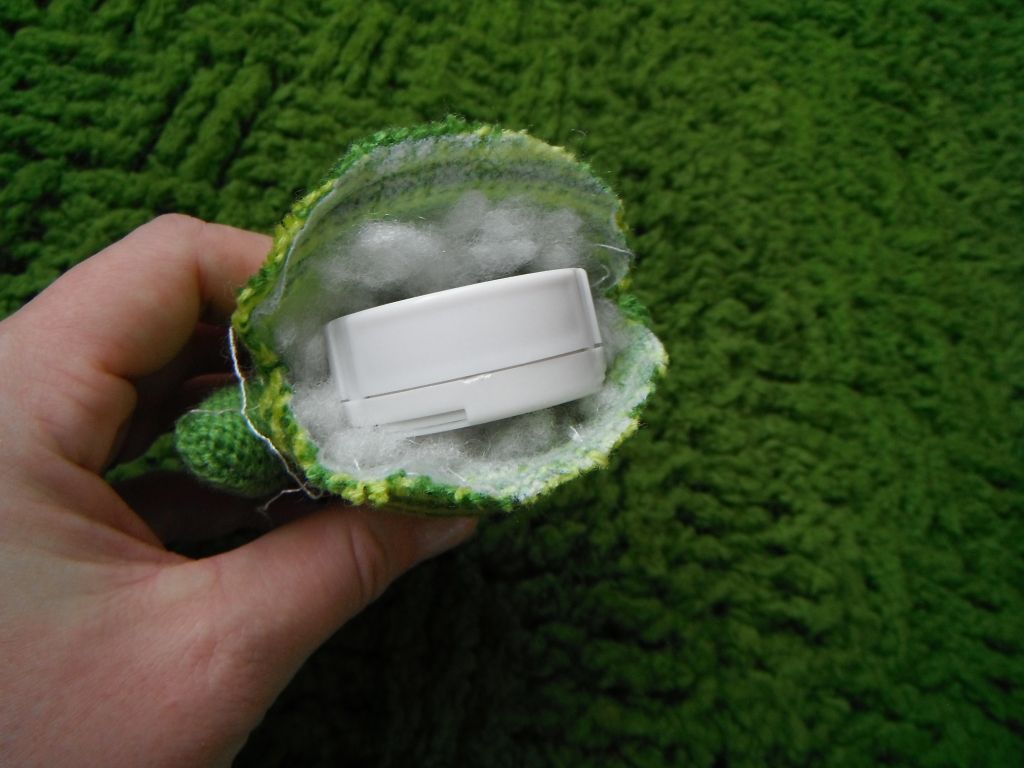
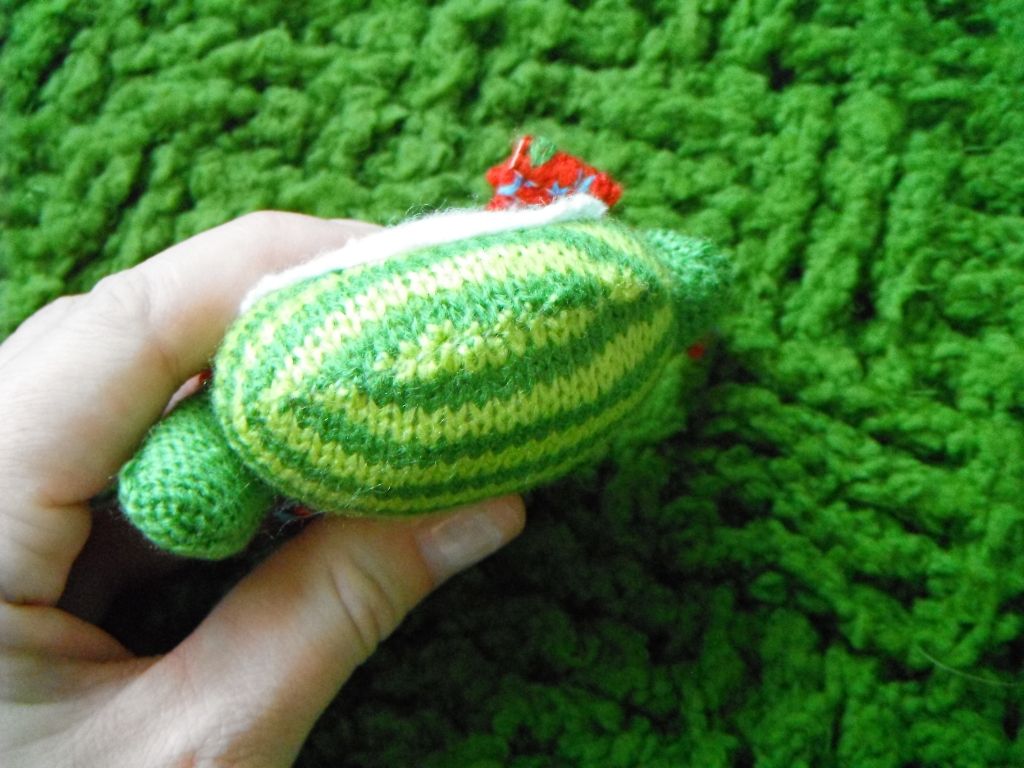
I was going to try and make an ornament for the grandparents this year with Leo's prints or something on it, but I just didn't have the time.  I did happen to see this post a couple of days before Christmas and thought I might be able to tackle it in time - which I did, just didn't get pictures of them all!
I grabbed some fabric ornaments from Target and voice recording devices from Build-A-Bear.  Leo wasn't cooperative when it came to getting him to say something, but I managed to get them done Christmas Eve.  it's not fun if you're not cutting it close, right?? :\
we'll see how well it holds up in storage and I might try again next year when he's more likely to say more things and possibly on command!

Monday, December 10, 2012

Christmas wreath

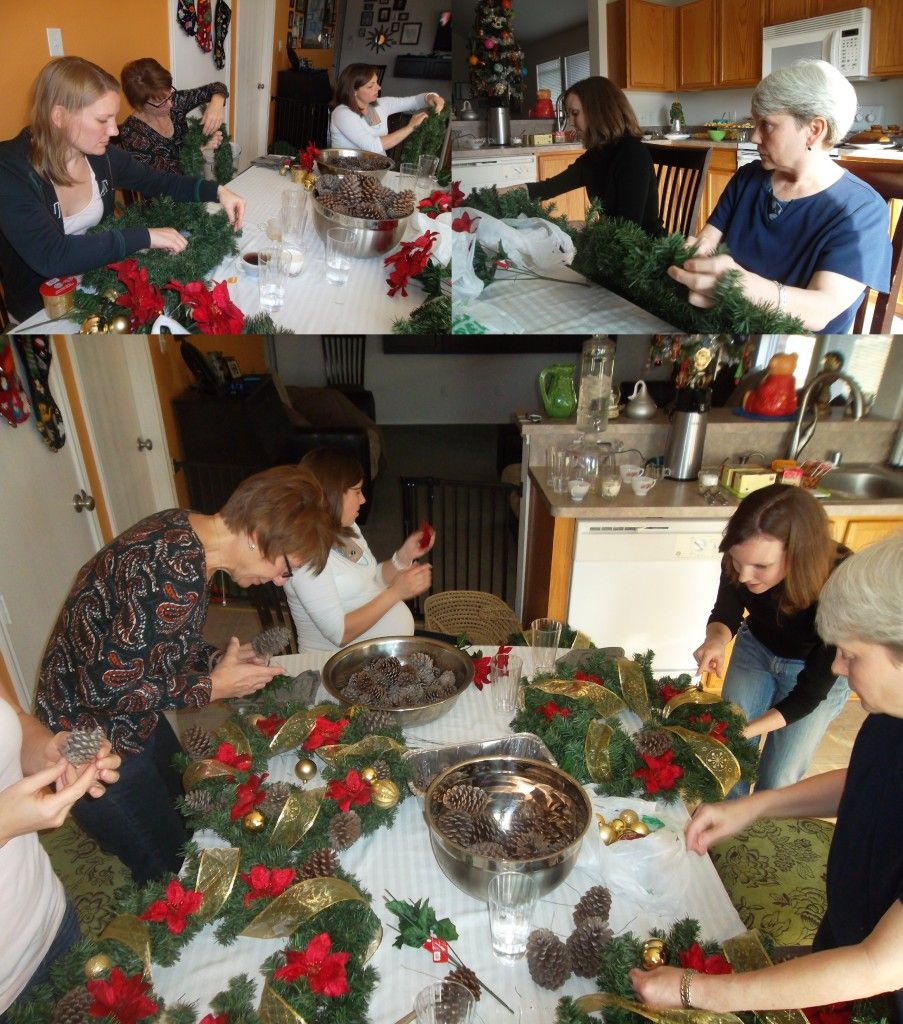
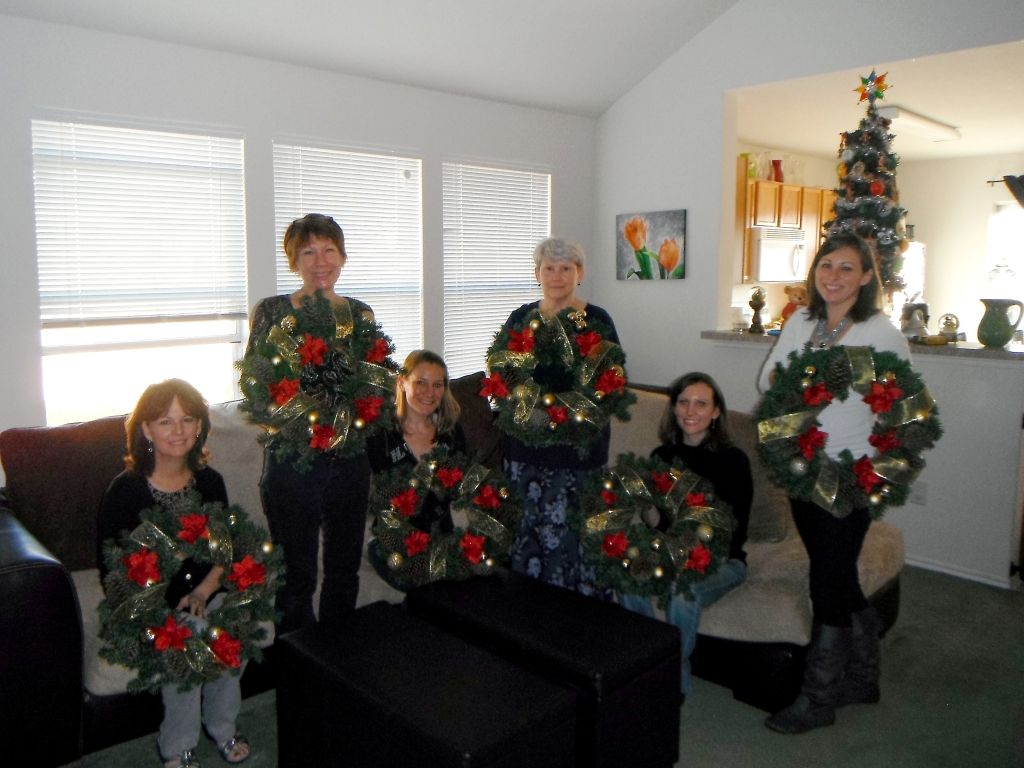
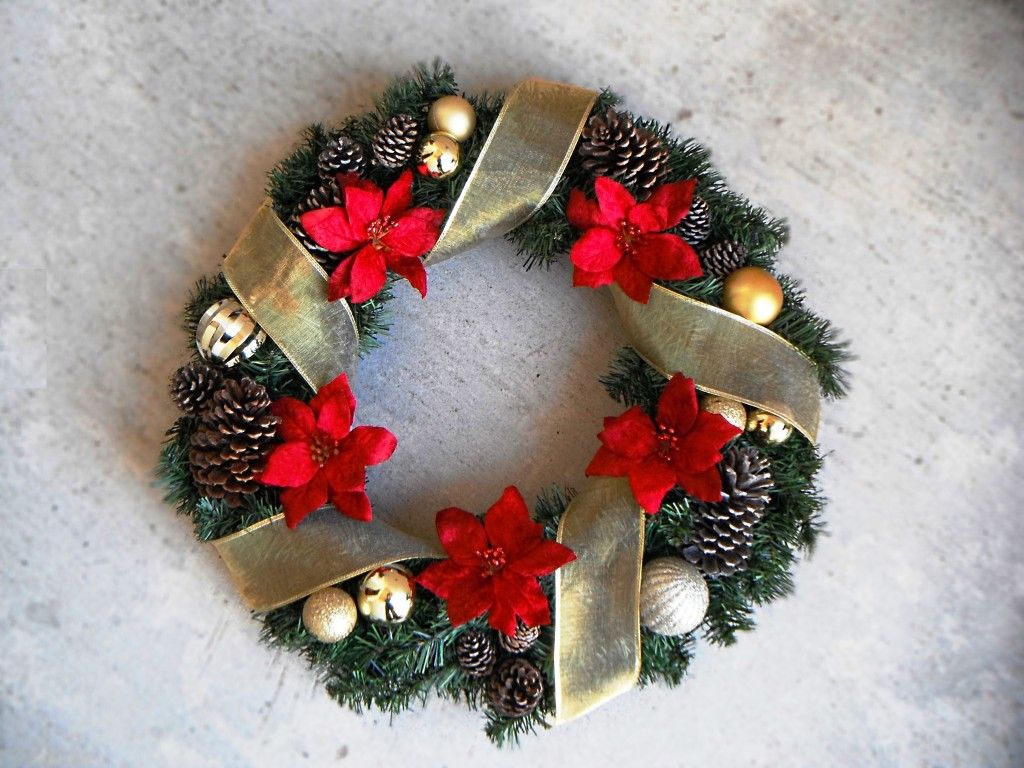
right after Thanksgiving we went out to east Texas for the weekend and I swiped a bunch of pine cones to use for another wreath.  I got my wreath form on sale, and picked up some ribbon and poinsettias from the Dollar Tree, and used plastic ornaments I already had on hand.  this was a group project, so I needed it to be less expensive, and it ended up only costing me about $6!
it was really simple to make.  we wrapped ribbon around the wreath and filled in with the pine cones, ornaments, and flowers.  we were a mix of seasoned and green crafters, but everyone's wreaths turned out great!
I'm so happy when my group craft projects turn out well and with minimal injuries :)  staying away from hot glue helps, but because these weren't store bought pine cones they were sharp and there was still the occasional "ouch!" whispered in the making - between the wire twisting, pine cone pokes, and wreath scratches I know I had my fair share!
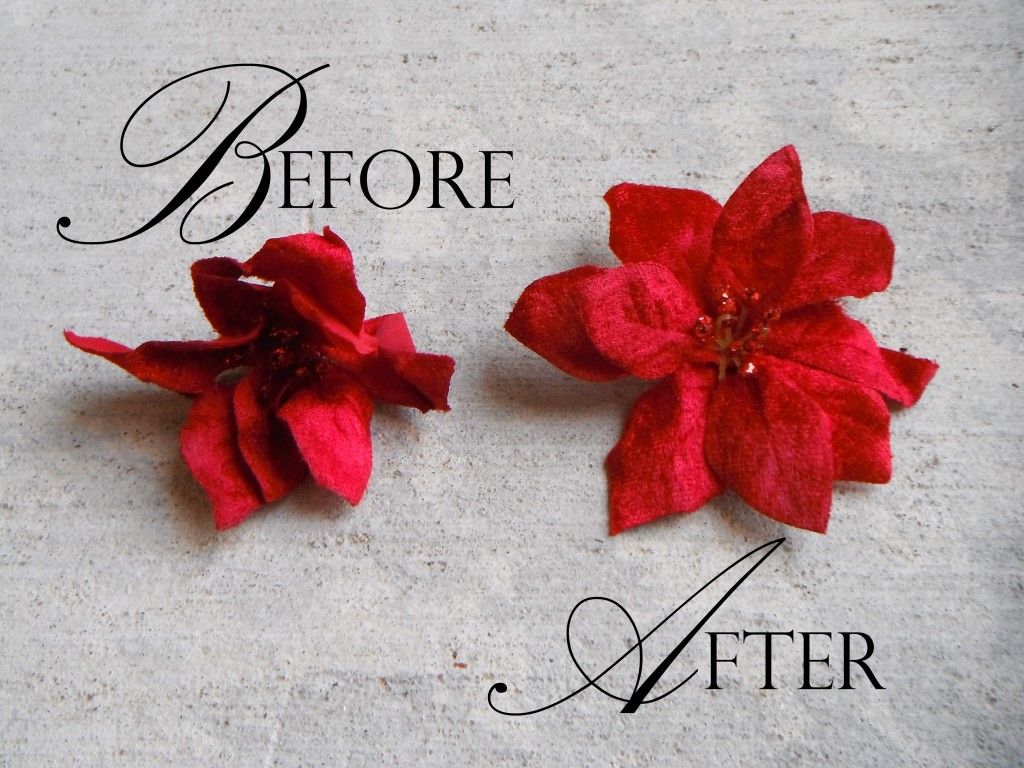
one thing that I learned doing this wreath was not to turn my nose up to cheaper "silk" flowers.  the Dollar Tree by our house has a bunch of poinsettias, but they're all mushed together and crumpled and just not really all that attractive, so I was a little anxious about finding filler there for these wreaths.  I got some just to see if I could straighten out the petals and it wasn't working :(  then I looked over at the corner of the room and spotted the steamer and thought I'd see if I could get the fabric to relax with a little steam - and it worked awesomely!  I will be going back to get more just to use for holiday arrangements around the house now that I know I can fix them easily :)

Friday, December 2, 2011

advent calendar

I totally went in a different direction than little boxes like I was planning on doing for my advent calendar when I saw these pictures!

I found a hanging basket hidden in the lawn and garden section that I hung from my kitchen light, took some gold floral wire and wove little swirls around it, hung some fillable ornaments from ribbon with number tags on them, and loaded it down with candy, cookies and some other surprises for Matt and Leo :)

I ran out of time (I was still working on it last night!) so I just pinned the ribbon with some decorative straight pins I made a while back.

it's not quite what I had in mind, but I still like it. maybe next year I'll decorate the ornaments so they looks prettier, find better ribbon and put Velcro or some other closure on them, and have a better design of how they hang. they look sorta jumbled to me, but I was trying to make them look random... I dunno. it was fun to make and it'll be fun to eat on all month long!

Thursday, November 24, 2011

Christmas goodies

last year was Leo's first Christmas, but he didn't really know what was going on so it felt like it didn't count. we took advantage of that and didn't get him anything O:) he did get clothes and practical things, but nothing fun. this year I think he'll enjoy it, which has made me get more into the shopping and planning mode which has seemed to fade for me the last few years.

I've been wanting an advent calendar with surprises to put inside, but all the ones I like are pricey, and all the diy ones I've seen online seem too disposable. I want something hardy that we can keep for years and I like the wood kind that have doors that open up. I haven't looked around at the craft stores yet to see what sorta unfinished wood stuff they have that I can make something with, so I think I'll need to do that soon so I have time to work on it before the 1st!

while browsing through the toy section at Target Leo spotted a smart phone. his eyes lit up when I handed it to him, so I had to get it... even though he already has a play phone.
I was looking for a See & Say for his birthday, but the only one I was finding in stores annoys the crap out of me. the search continues for a different one for Christmas. an old one like what I had growing up would be fun to find. we'll see.
I've been wanting to get these non-skid rubber sole socks for Leo for a while. he's starting to toddle around, and he slips pretty bad in just his socks, but regular shoes seem to be holding him back because his feet are so big - he's already in a 5! I saw the sneaker print pair in passing the other day so I grabbed them up.
since I can't give him traditional chocolates and hard candy in his stocking I'm going the snack route and getting him some vitamins and regular gummy fruit snacks. he also loves the little Chips Ahoy mini cookies. might sneak a few of those in there, too ;)
I thought I might put them in a Boon ball or some other cute snack container, or maybe find something holiday-ish that might double as a toy or ornament.
he LOVES to swing and going out in the backyard, so I'm hoping to find (or make) a simple swing set for the backyard to put a cool swing in.
I know his grandparents will spoil him, so I'm trying to limit myself on what we get him. he seems to enjoy non-toy things still so I might just wrap up a few toys he's forgotten about just so he can rip into them Christmas morning. he's been into boxes lately - putting things in them and pulling stuff back out - so that's another option that will last for just a little while and can be thrown away and not stored! it's more about having fun than what ya get, right? :)