Showing posts with label cute. Show all posts

Thursday, December 18, 2014

paint prints for Christmas

the boys and I found some time after Thanksgiving to do a little Christmas crafting for their grandmothers.  this holiday season wasn't feeling much like Christmas for me for various reasons, but I really wanted to make these cute penguin prints and I think this project helped get me more in the mood for festivities :)
I picked up a couple of white aprons from Hobby Lobby to decorate.  all the boys had to do was sit still for a black footprint, and I painted the details on after those were dry.  the simple footprints ended up being a lot messier than I remember on past paint projects.  maybe it was the black paint on the white surface... I don't know.  they still came out cute.
we added some fingerprint string lights for a border, which I think really helped finish it off.  this was time consuming, but easier to control than the footprints since we went one finger at a time instead of a whole foot.  I added their names and year as well.
there's still room at the bottoms to add more, so maybe next year we can add some reindeer.

Thursday, August 28, 2014

little fingerprints

we made fingerprint gifts for Nana's birthday.  the boys just love painting, so I didn't need to twist their arms or bribe them to help me make these.  they do have their limit on how long they'll let me paint their fingers and press them onto things before they try to take over, though!
we painted a cute ceramic mug I found at Target with Martha Stewart opaque glass paint and then baked it in the oven.  I bought extra mugs just in case, and I'm glad I did!  I thought a grey mug with mostly white prints and some color here and there would be cute, but for some reason the white did not work well at all :\  so I went with just the color paints on the white mug and they worked great.
while we had momentum going we did a picture frame with regular acrylic paints.  I'm hoping to get a good picture of the boys at my sister-in-law's wedding this weekend to put in the frame!
I was going to have the boys make a card, but decided to decorate a plain white bag that doubles as a birthday card instead.  this was a two day project...
but I really love the balloons :)

Thursday, February 20, 2014

another flip flop project

last October my mom and I worked on some flip flops for our vacation craft, and I just finished mine over the weekend!  that's how far down on my to-do list completing them was.

I watched this video (it's not in English, but you can see what's being done) and thought it looked easy enough that my mom and I could tackle it in a few days (well, she was able to!).
it's a basic macrame knot around the straps, with beads strung on one of the ribbons.  I used the thinnest ribbon they had at the craft store, 6/0 seed beads, some polymer clay beads I made forever and a day ago, and the middle beads at the toe were just flat glass beads.

if I'm lucky, I'll be able to do another pair this summer, but I really wish I had the time to make a pair like Luis Quintero - I love watching him macrame sandals, even if I have no idea what he's saying!

Thursday, June 13, 2013

crochet pacifier clip

a friend of ours had a baby girl recently and I wanted to make her something, so I searched to see what would be cute and quick to do.  I decided on a crochet pacifier clip like this one from BerryCuteBaby.
with doubled embroidery floss and a 3.25mm hook, I did a row of foundation double crochet until it looked about as long as I wanted, then did a row of double crochet down the other side and ended with a chain loop.  I fed the end through the end of a suspender clip and stitched it down real good, then stitched down a flower over that because to get it tight and secure on the clip it looked kinda... meh.  the flower made it cute and served its purpose to cover my sewing.
even if she ends up not liking pacifiers, this works good as a leash for teething toys.

Thursday, April 4, 2013

peach hand pies

I had some cans of peaches in my pantry and decided to try making some hand pies with them, and they came out really well!  I don't have much luck when I try to just throw something together, but this one is going in my cook book :)  I had to search online for an idea of how to do them and decided to mix together a lot of the information I came across.
you'll need enough dough for two pie crusts, or you could make one and just use half the filling recipe for 12 hand pies and save the rest of the filling in the fridge for later.  I like using the tart crust recipe below, but I found a good looking one the other day at FoodWishes that I really wanna try.
 
RECIPE FOR ONE 9" CRUST: (double this for full recipe of 24 hand pies)
1 cup flour
6 TBSP cold butter
1 egg yolk whisked with 2 TBSP cold water
 
cut the butter into the flour until just blended - don't over work, add egg and water mixture and form into a ball.  wrap in plastic and chill in the fridge.  the things to keep in mind about pie dough is to use cold ingredients, work it cold, and keep it cold.
 
FILLING:
1 can of peaches (or other fruit) in water
1 cup sugar
2 TBSP cornstarch
1/8 tsp nutmeg
1 TBSP butter
 
mix sugar, cornstarch, and nutmeg in a sauce pan and add butter and juice from the can of fruit.  cook over medium heat stirring constantly with a whisk until thick enough that when stirred it leaves momentary open spots in the bottom of the pot,  add fruit back in and stir until fruit is warm and in small bits.  let sit and cool.
 
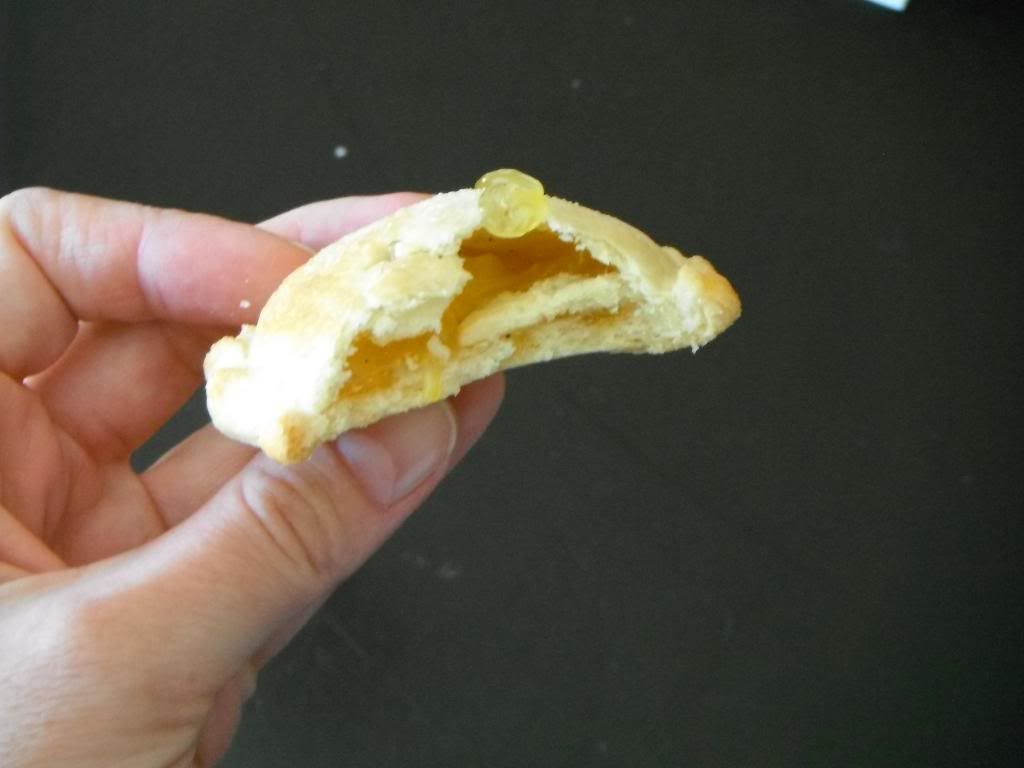
section the dough evenly into 48 balls (or 24 if you only made one dough recipe) and roll each one out thinly between sheets of plastic wrap with a rolling pin, or press flat under a plate until it's about 4" across.  brush the bottom round of dough with egg white to act as a glue for the top round, spoon about a tablespoon of filling in the middle and place the top round over that.  mash the edges down, then roll them over themselves and crimp to make sure they don't open up when they cook.  add a few slits in the top so steam can escape, brush the tops with egg white, and then sprinkle them with sugar.  bake at 400°F for 18 minutes or until lightly browned.
I baked mine in a greased glass baking dish so I could check on the bottoms, but a baking sheet is fine to use, too.  you can also buy pre-made dough, and just thicken pie filling from a can or use marmalade so these are even easier. 

Thursday, March 28, 2013

stitch markers

I needed some stitch markers for this granny square I was making, so I used some paper clips, which worked just fine, but I wanted to make them a little cuter so I curled the ends.
then I looked online to see what other wire stitch markers were out there that people were making and I found this post for making simple markers.  I like how cute and little they are :)
the plastic coating was a little finicky to work with and would tend to split on the cut ends, so I think next time I'd be a little more careful and score the plastic with a blade first and then clip the wire so it doesn't split and peel.
all in all I'm happy with how quick they worked up and the use of stuff I already had on hand.