Showing posts with label gift. Show all posts

Thursday, August 28, 2014

little fingerprints

we made fingerprint gifts for Nana's birthday.  the boys just love painting, so I didn't need to twist their arms or bribe them to help me make these.  they do have their limit on how long they'll let me paint their fingers and press them onto things before they try to take over, though!
we painted a cute ceramic mug I found at Target with Martha Stewart opaque glass paint and then baked it in the oven.  I bought extra mugs just in case, and I'm glad I did!  I thought a grey mug with mostly white prints and some color here and there would be cute, but for some reason the white did not work well at all :\  so I went with just the color paints on the white mug and they worked great.
while we had momentum going we did a picture frame with regular acrylic paints.  I'm hoping to get a good picture of the boys at my sister-in-law's wedding this weekend to put in the frame!
I was going to have the boys make a card, but decided to decorate a plain white bag that doubles as a birthday card instead.  this was a two day project...
but I really love the balloons :)

Thursday, August 21, 2014

corner to corner triangle shawl

I crocheted this shawl for a friend of mine using the corner to corner afghan tutorial from The Crochet Crowd, with 4 skeins of Caron Simply Soft yarn, and a 6mm hook.
I've made scarves with this pattern in the past, but this is the first time I've used a solid color yarn.  with variegated yarn the focus is the patchwork of color, so I never noticed before the cool texture it makes!
instead of a rectangle or a square, I did a triangle.  I just increased like the pattern says to, and when I thought it was long enough I simply didn't decrease back down to the other corner.  I did a scallop around the two straight edges to match the "unfinished" long edge, but this is totally optional and I think I'd skip it if I did this one again.


if watching a video isn't your thing, here's a link to a written pattern provided by Artiamus Imura: Corner to Corner Triangle Shawl

Thursday, August 14, 2014

crochet slippers

yeah... it's WAY too hot for slippers right now, but I've been thinking about fall to take myself to a cooler place this summer, so I made these slippers for my mom (surprise, mom!).  I think they came out pretty cute for just kinda winging it :)  I took inspiration from these slippers on Etsy from daisychain - I love the big buttons and contrasting colors she uses.
here is a basic slipper pattern from 2 create in color.  I did mine in single crochet and I did rounds instead of a going in a spiral around the toe, but the shape and construction is the same as all other basic crochet slippers.  I used Red Heart Soft in Sea Foam, with a 4.25 mm hook which gives it a more dense feeling.

toe:
make a magic ring
round 1:  ch 2, 9 dc into magic ring, sl st to join, pull ring tight - 10 sts
round 2:  ch 1, 2 sc into each st around, sl st to join - 20 sts
round 3:  ch 1, sc increase into every other st around, sl st. to join - 30 sts
(make more increase rounds to accommodate the width of your foot.)
round 4:  ch 1, sc into each st around, sl st to join - 30 sts (or maintain the amount of sts you have after you finish the increase rounds)
repeat round 4 until you have the toe of your slipper as long as you want minus 1/2" for the edging.

sides and sole:
row 1:  ch 1, sc into each st across, leaving the last sts un-worked for the opening across the top of the foot (I left about 2"), ch 1 and turn.
row 2:  sc into each st across, ch 1 and turn.
repeat row 2 until you reach your heel - you will want this to be a little snug so it doesn't slip off your heel, but not pulled so tight it cramps your toes.
sl st the heel closed and turn right side out.

edging:
round 1:  attach yarn at the center of the top of the foot, ch 1, sc around the edge, sl st to join.
round 2:  ch 1, sc until you reach the side of the slipper, then sc2tog every other st until you reach the toe again, then sc to the end and sl st to join.

toe strap:
while standing, measure from the ground at the ball of your foot to where you want your button to go on the top and make a chain that length.
row 1:  ch 2, hdc into each st across, hdc 4 more times into the last ch, and hdc down the other side of the ch, ch 2 and turn.
row 2:  hdc into each st, and 2 hdc into each of the 5 sts on the center of the curve, then hdc into each st back down the other side, ch 1 and turn.
row 3:  sc into each st, and 2 sc into each of the 6 sts on the center of the curve, then sc unto each st back down the other side.
row 4:  change colors (optional), ch 1, sc into each st around.
attach strap to the slipper and sew on button.  this is easiest to measure while the slipper is on.

I felt like the large button was a very important element, so I had to give the illusion of a bigger button by making a crochet circle to frame the smaller buttons I had.  this was done the same as the very beginning of the slipper, but I squeezed 13 double crochets into the ring instead of only 10 to make a little crochet disc that I could nest the buttons into.
only 3 hot months left before it's time to cover up chilly feet.... yes, you have plenty of time to make yourself a pair ;)

Thursday, June 13, 2013

crochet pacifier clip

a friend of ours had a baby girl recently and I wanted to make her something, so I searched to see what would be cute and quick to do.  I decided on a crochet pacifier clip like this one from BerryCuteBaby.
with doubled embroidery floss and a 3.25mm hook, I did a row of foundation double crochet until it looked about as long as I wanted, then did a row of double crochet down the other side and ended with a chain loop.  I fed the end through the end of a suspender clip and stitched it down real good, then stitched down a flower over that because to get it tight and secure on the clip it looked kinda... meh.  the flower made it cute and served its purpose to cover my sewing.
even if she ends up not liking pacifiers, this works good as a leash for teething toys.

Thursday, May 30, 2013

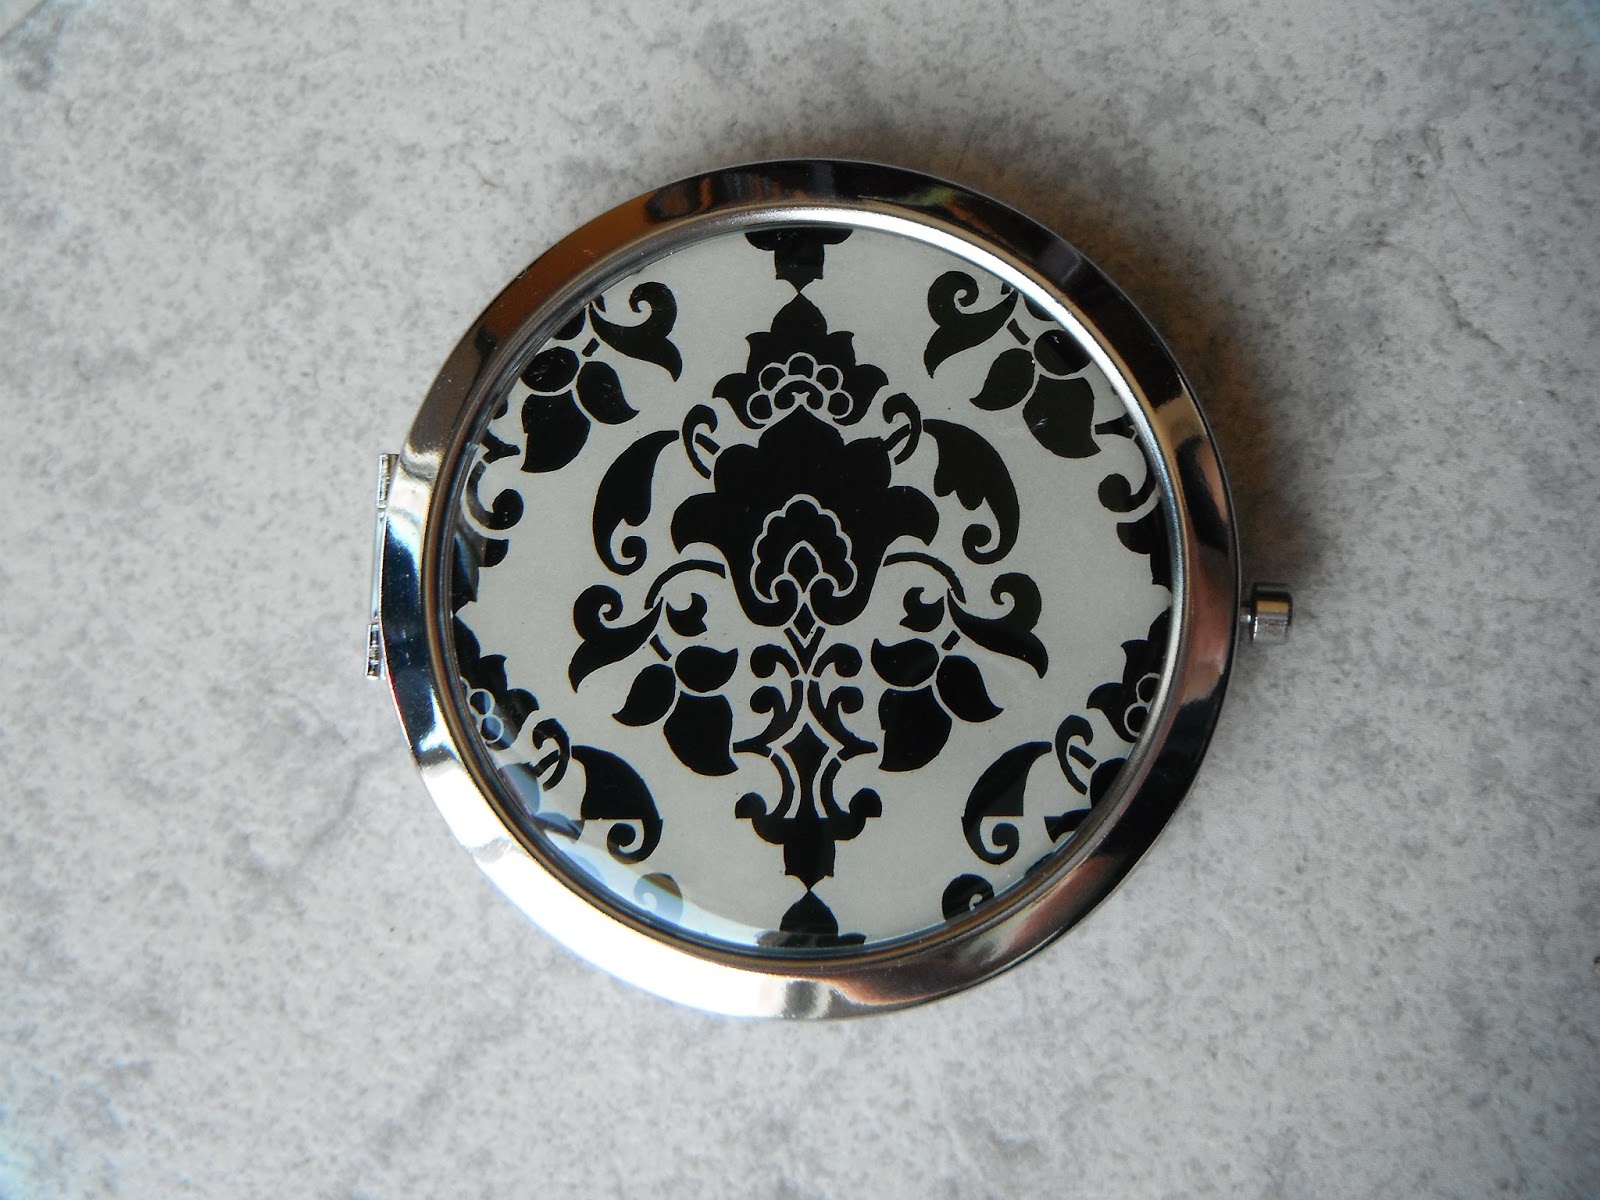
photo pocket mirror

I found some pocket mirrors at Michael's and thought they'd be really cute gifts for Mother's Day if I put pictures on the fronts.
I peeled the front part off - this wasn't easy and I had to be careful not to scuff the outer rim, which I did on all but one of them no matter how hard I tried to avoid it - and cleaned as much sticky off the inside as I could.  that turned out to be a waste of time because it didn't really matter if there was residue on it.
I printed off a photo slightly smaller than the inside of the indent, then laminated, and trimmed it to size.
then I put doubled sided carpet tape (found it at Home Depot in the flooring department) on the back (that stuff was super sticky!) and stuck it to the front of the mirror.
it wasn't exactly how I imagined it, but it was still cute!

Thursday, May 2, 2013

granny squares pillow

for my mother-in-law's birthday I made up a bunch of granny squares and tacked them to a pillow I made.
I used this pattern with a 3.25mm hook and doubled embroidery floss.
I made the pillow from a couple of dinner napkins and did a blanket stitch around the edge.  it was a little time consuming but I'm happy how it came out :)
I liked using the embroidery floss for this because I could get so many different colors and I only needed a little for each square so it didn't cost a lot to have a variety of colors.  the strands would separate once in a while, so I wasn't able to crochet as fast as I normally would and needed to really pay attention so I didn't pull up a strand from the wrong loop, but other than that it was pretty easy to do.

Thursday, January 3, 2013

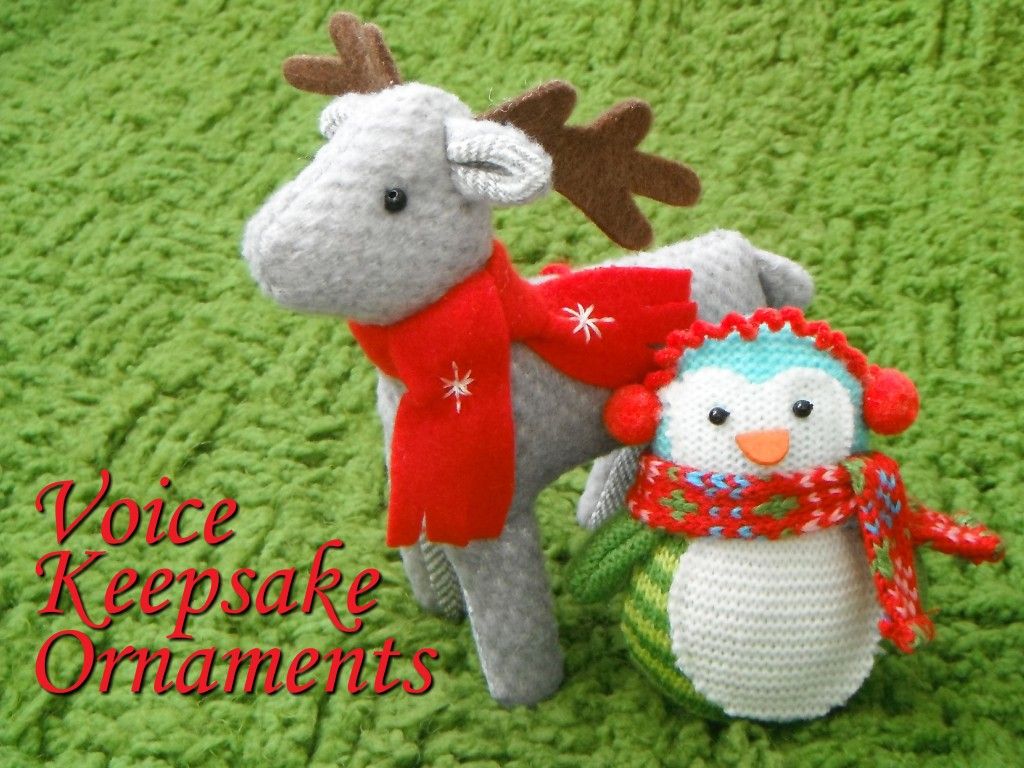
sound ornament

I was going to try and make an ornament for the grandparents this year with Leo's prints or something on it, but I just didn't have the time.  I did happen to see this post a couple of days before Christmas and thought I might be able to tackle it in time - which I did, just didn't get pictures of them all!
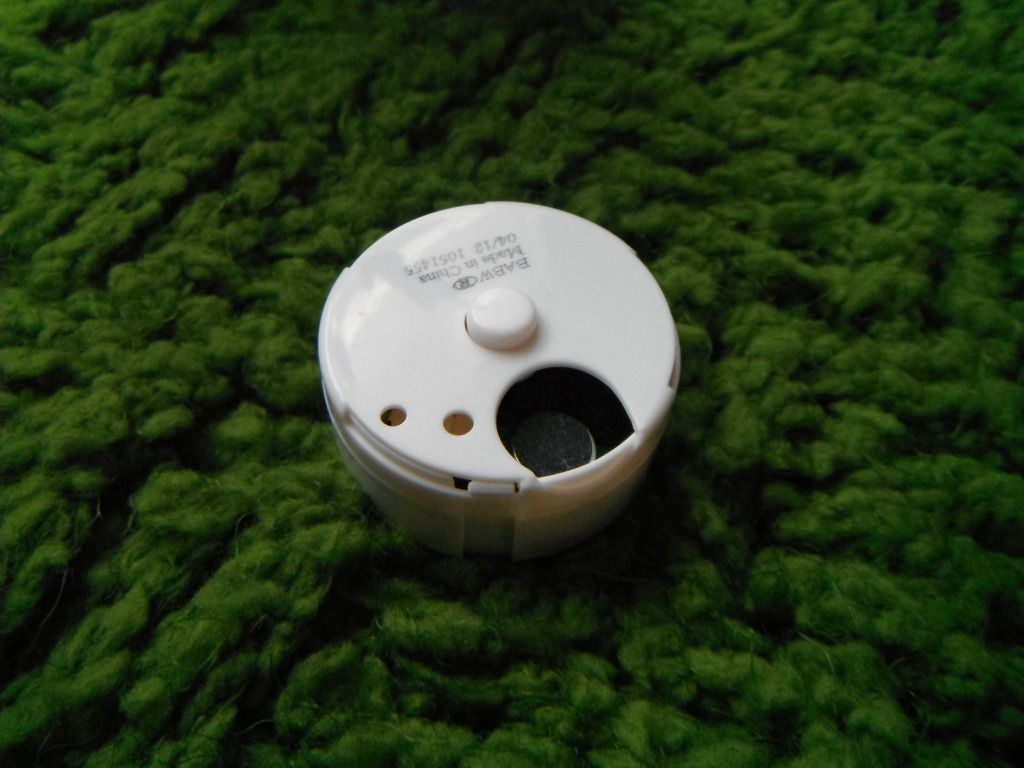
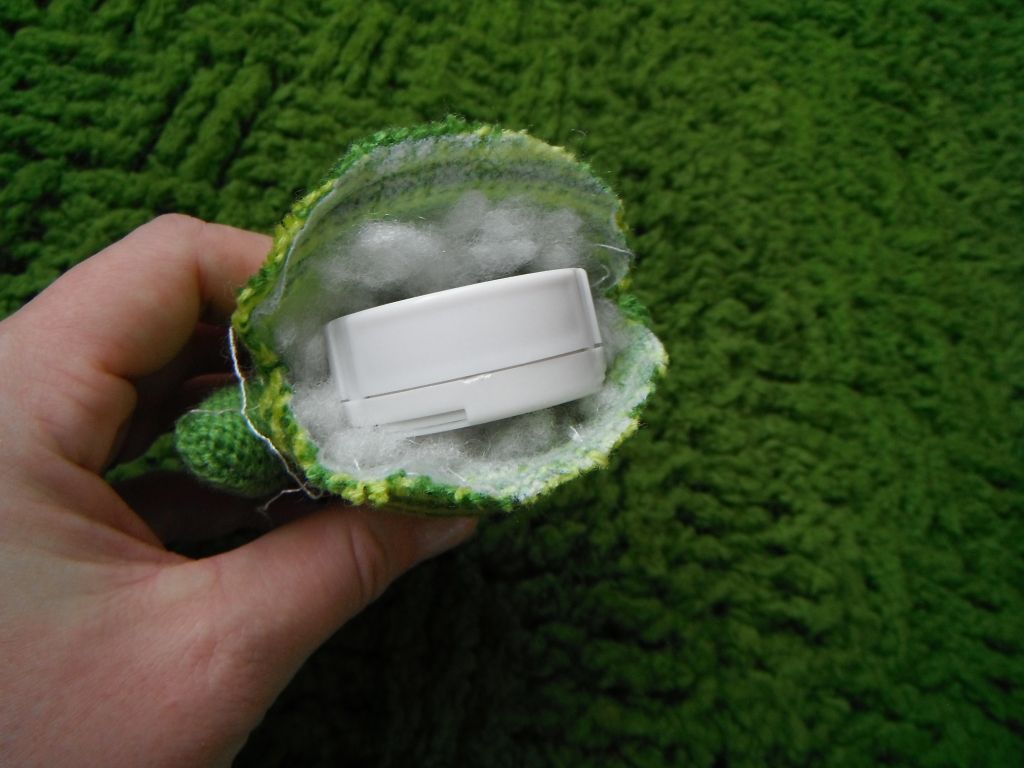
I grabbed some fabric ornaments from Target and voice recording devices from Build-A-Bear.  Leo wasn't cooperative when it came to getting him to say something, but I managed to get them done Christmas Eve.  it's not fun if you're not cutting it close, right?? :\
we'll see how well it holds up in storage and I might try again next year when he's more likely to say more things and possibly on command!

Thursday, December 20, 2012

glasses

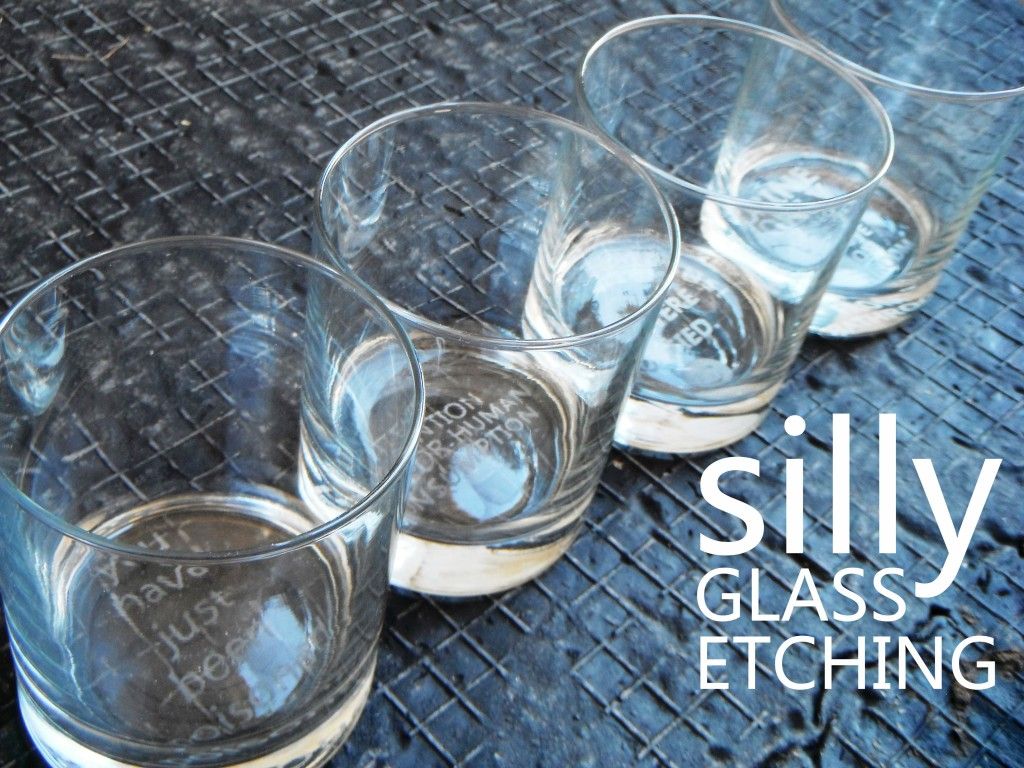
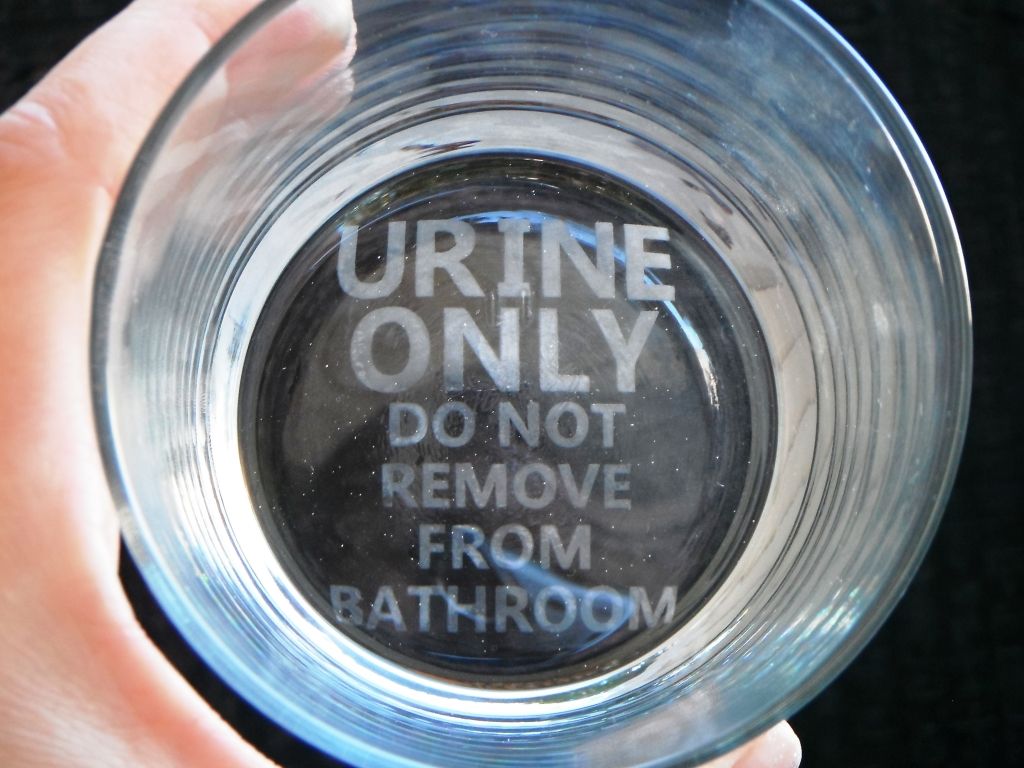
I saw this cool project for etching the bottom of a pint glass.  I thought this would be a perfect gift for my sister-in-law's boyfriend.  I used clear contact paper with my Silhouette (this machine makes so many things so much easier!), etching cream I got from Hobby Lobby forever ago, and a set of 4 small tumblers (the bases were bigger than regular pint glasses) that I got from Target.

 
as happy as I was at how well the first one came out, I thought I'd make each glass different.
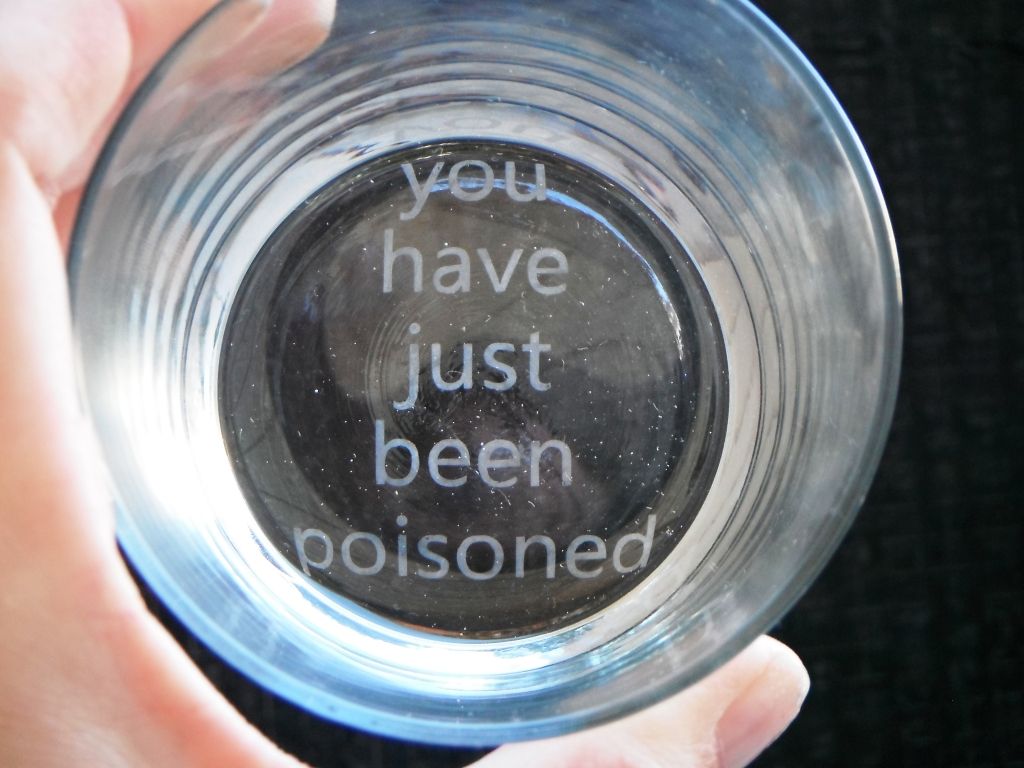
I googled warnings and came across some to use,
and Matt helped out with this one - of course ;)  we're fans of The IT Crowd so I couldn't turn down one involving Rohypnol!  gotta love Moss :)
this one is probably my favorite.  it's a bit of a departure from the original idea, but still fits with the recipient's humor.

these worked up quickly and were surprisingly easy to do.  I've etched glass before and for some reason it was a big headache, but this project went very smoothly and I am excited to give them away :)

Thursday, November 1, 2012

hugs and kisses

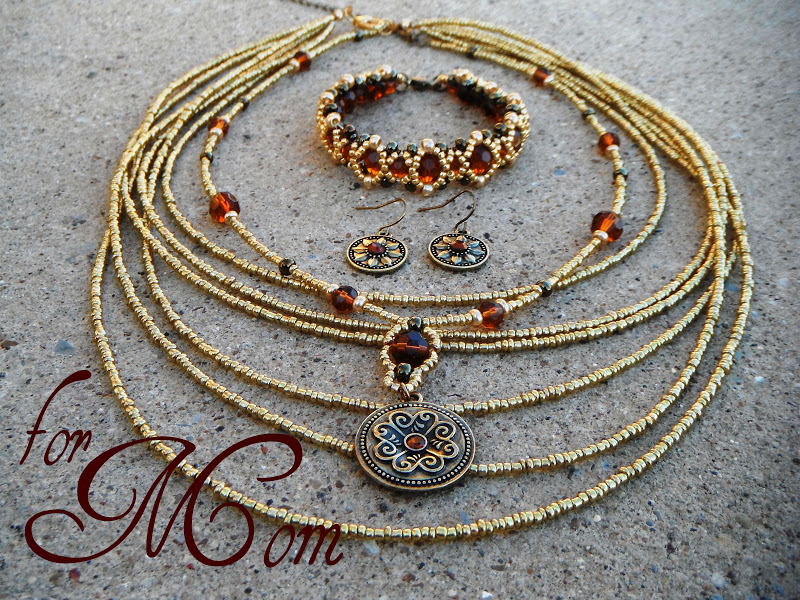
I really enjoy watching Beadifulnights' tutorials on youtube.  they're clear and easy to follow and when I bead along while watching I feel like I all of a sudden have something cool I couldn't have figured out on my own when I'm finished.  I loved the Hugs and Kisses bracelet when I saw it and wanted to try it, not really expecting it to turn out, but it did!
  
I used these earrings as color inspiration and made the bracelet to match as best as I could get it to.
  
when I was finished I decided it needed a necklace set to go with it so I searched for a pendant and found one with a couple of smaller ones that could be used as earrings that worked great with the colors of the bracelet.
it still looked like it was lacking so I added another necklace with some simple strands of beads and that did the trick! 

Thursday, September 6, 2012

pretty beans

I've been watching OneVeryHappyBird on youtube recently while eating lunch.  she has some simple and cute ideas, and her voice is soothing to listen to!  I loved the doily gift bag she made and was able to try it out finally on a bag of Boston Baked Beans for my Nana's birthday basket.
I got the candy that comes in a box since it's already in a clear bag, and I glued a small doily on top and added the tag I cut from the end of the box so she knew what they were.
I think it looks a little more special and it was quick and fun to make :)

Thursday, August 23, 2012

more baby crochet

 
I made these for a friend of mine who had her little girl a few weeks too early.  I looked online for some crochet patterns and found this hat pattern, and this really quick and easy bootie video tutorial.
 
after hunting for the hat, I decided it was simpler to find regular baby patterns and adjust to make them fit the measurements I needed (which I got from here) than to find a preemie sized pattern.
 
I added an extra row of puff stitch and two rows of single crochet at the bottom on the hat instead of one like the pattern said to do so it was closer to the measurements I was looking for.
 
for the booties I used a smaller hook than what the lady in the video did, and I only made the toe 1.5" long, and 1.5" for the sides and back so it was the recommended 3".
they look so small to me, but I've been gauging her size from photos of her head and feet compared to peoples hands as well as going off the size chart for 4-5lb babies.  I'm still worried they won't fit, but they worked up so quick I can always whip up another set if I need to.

Thursday, August 16, 2012

crochet washcloth

I crocheted some washcloths to put in a basket for my Nana's 80th birthday.  I used a natural looking ecru yarn by Sugar 'n Cream and this pattern.  with an H hook, the 2.5oz skein got me two washcloths with maybe 12" left over!  cuttin' it a little close so I'm glad I was able to make two finished washcloths and didn't have to buy another skein just for a few yards or something.  I'd like to do more but I think each one took me about two hours to do, so if I have time and get a chance I might go get another skein and make two more.
I ironed some ribbon to a piece of 8.5"x11" freezer paper and ran it through my printer to make the label so she sees that I made them for her in case I don't get to see her open the basket.  makes it cute, too :)  there's so many tutorials out there that tell you how to use your inkjet printer to print on fabric, but here's one I found that covers the basics.  I don't recommend using ribbon for smaller fonts since it spreads a little before the ink dries and looks fuzzy.  since this is just packaging, and even though I heat set it after I printed, it won't make it through the wash.  there is some kinda liquid stuff (Bubble Jet Set, I think) you can treat fabric with to make it washable after printing, but I haven't tried any yet.

Monday, May 7, 2012

earring hook & hoop how-to

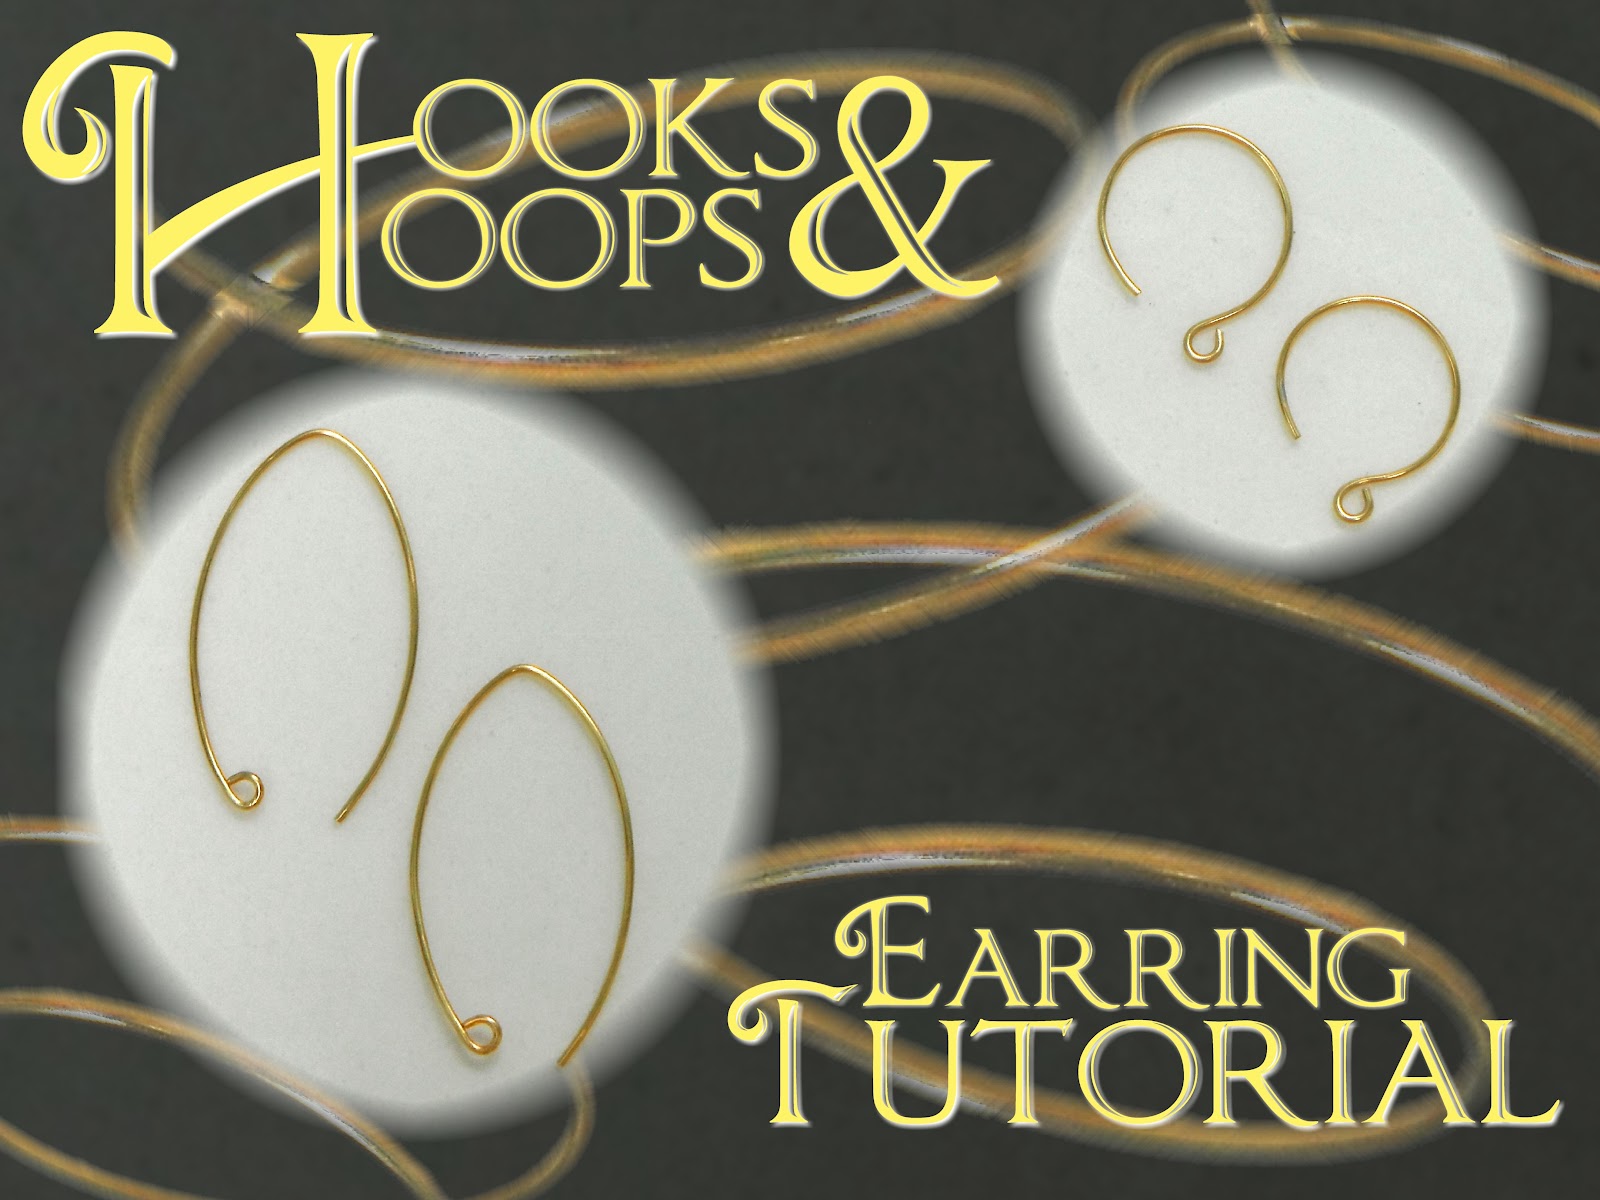
I make jewelry for my mom and Matt's mom a few times a year (birthday, Mother's Day, Christmas) and my mother-in-law likes a smaller wire hoop instead of a traditional fish hook earring, so I started making the smaller open hoops, and here's how to do it.

you'll need:
  • wire cutters
  • flat nose pliers
  • round nose pliers
  • size 13 knitting needle
  • ear wire or pre-made wire hoops
  • file (optional)

I use a pre-made wire hoop from the craft store, but you can use regular ear wire.  wrap the wire around a size 13 knitting needle so that it overlaps past the point that it makes a full loop.
trim the wire a 1/4" beyond the overlap. make a loop on the end you just cut with the round nose pliers, turning away from the opening of the hoop.  shape it so it lays flat and is open enough for your earlobe.

another earring I like to make it is an angled ear hook - it's pretty easy.
I take the pre-made hoop and stretch it out so that it still has a little curve to it.  if you're using plain ear wire cut a length that's twice as long as you want your hook to be and make a loop on the end with round nose pliers.
hold the wire between your finger and thumb and pinch so that the ends are even as they come together until they cross.
open the hook up slightly, take the flat nose pliers and turn the loop so that it's flat, then use the round nose pliers to curve the loop inward.
since I use pre-made ear hoops I don't need to finish the end that goes through the ear because it's already rounded, but if you're using ear wire by itself you'll need to file the ends so they aren't sharp.
it's a very simple way to give earrings you make (or already have) a more unique look :)