Showing posts with label birthday. Show all posts

Thursday, August 28, 2014

little fingerprints

we made fingerprint gifts for Nana's birthday.  the boys just love painting, so I didn't need to twist their arms or bribe them to help me make these.  they do have their limit on how long they'll let me paint their fingers and press them onto things before they try to take over, though!
we painted a cute ceramic mug I found at Target with Martha Stewart opaque glass paint and then baked it in the oven.  I bought extra mugs just in case, and I'm glad I did!  I thought a grey mug with mostly white prints and some color here and there would be cute, but for some reason the white did not work well at all :\  so I went with just the color paints on the white mug and they worked great.
while we had momentum going we did a picture frame with regular acrylic paints.  I'm hoping to get a good picture of the boys at my sister-in-law's wedding this weekend to put in the frame!
I was going to have the boys make a card, but decided to decorate a plain white bag that doubles as a birthday card instead.  this was a two day project...
but I really love the balloons :)

Monday, October 14, 2013

monster truck party

for Leo's 3rd birthday party we did a monster truck theme.  he's been talking about his monster truck birthday party all month!  he was definitely excited :)


I did the date decider, save the date, and invitation through punchbowl - I'm really liking that site :)
I love how the cake came out - probably the best cake I've done for Leo.  it was 4 layers - 2 blue suede and 2 Funfetti with cream cheese frosting, dusted with cookie crumb dirt and chocolate rocks.
I knew Leo would want to play with the cool scene, so I made the top part removable so he could play with it while we ate the cake.  he tracked the dirt all over the table and ate handfuls of rocks - he really enjoyed himself with that :)
I set my cake stand on a tray that I put over an old tire I had in the garage and added more dirt to the tray to hold some chocolate cookies that looked kinda like tires.
the balloons were such a hit last year that I had to do a bunch of those again.  with the help of a Sandi Masori Balloons video I made an arch into the kitchen.  my lips are still feeling funny from all the latex powder :\  but it was worth it.  next time I'd use the compressor... and not do it in the middle of the night when I have to be quiet ;)  surprisingly, I only popped one and no one woke up!
I also used some punch balloons to tie open the curtains.  I thought the red, yellow, and green looked sorta like a signal light?
when we brought Leo in to see all the decorations the thing he was most drawn to was the dollar store monster truck cut outs that took no effort at all to put up...  go figure!
I packaged up some caramel corn, honey roasted peanuts, and cookies in some cellophane bags printed with trucks, tied them with some black and white ribbon, and added key chains I made for the party favors.
I had something else in mind when I was ordering the key chains online, but I made them work and they turned out kinda cute.
since we're pretty much maxed out on space and we already have a ton of toys, I thought giving Leo one big toy that everyone could chip in on would be a good idea, so we got him a Power Wheels Jeep that can stay in the garage.  he loved it... after everyone stopped staring at him.
on Leo's actual birthday we'll be on vacation in Galveston, so I'm saving him a picture book I made from a bunch of Google images of monster trucks.  it's been wrapped up in our bedroom for a little while and when ever he sees his present he tells me about his monster truck party - who was coming, what we were gonna eat, and then describes monster trucks in general for a pretty long stretch of time.  I keep telling him that present has to wait until we go to Galveston and that starts up a whole new conversation about going to the beach, playing in the water, dragons moving into sandcastles... I hope the weather is nice for us!

Monday, July 1, 2013

The 'Burbs

we showed The 'Burbs for my backyard movie night this year - I wasn't sure how many people were familiar with the movie, but we had a good turnout of fans as well as some first-timers.  such a good movie!!
every year I think "maybe this will be the last one" so I can get that giant 8' x 16' screen out of my backyard, but everyone has such a good time and I'm always glad we did a movie night that after it's over I say "okay.. we can leave the screen up and do another one in the fall..." and then after that one it's like "well.. we're not that far from June so lets keep it up a little longer."   I guess until the HOA complains, it might just stay up until it falls apart or brings the fence down!
Matt made his famous corn dogs like he always does - they just keep getting better and better!
I made "something for the ole sweet tooth" but I decided against dropping them on the ground.
I had to have sardines and pretzels, so I made my own chocolate mold from Alumilite mold putty and Swedish fish.
I made some juice drinks to put in containers Matt and the boys got me for Mother's Day - I just love them :)  and I made some tags to write on with dry erase markers so everyone knew what they were.
it was a great birthday celebration :)  thinking about going with Arachnophobia next time...  but we'll see. 

Thursday, December 20, 2012

glasses

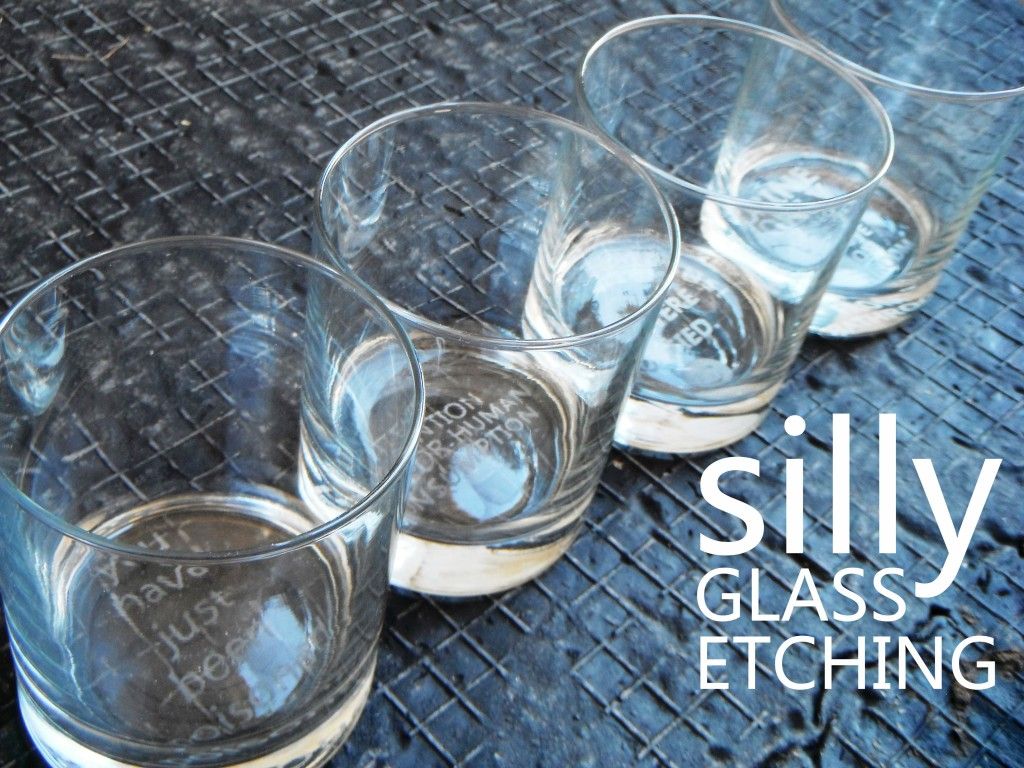
I saw this cool project for etching the bottom of a pint glass.  I thought this would be a perfect gift for my sister-in-law's boyfriend.  I used clear contact paper with my Silhouette (this machine makes so many things so much easier!), etching cream I got from Hobby Lobby forever ago, and a set of 4 small tumblers (the bases were bigger than regular pint glasses) that I got from Target.

 
as happy as I was at how well the first one came out, I thought I'd make each glass different.
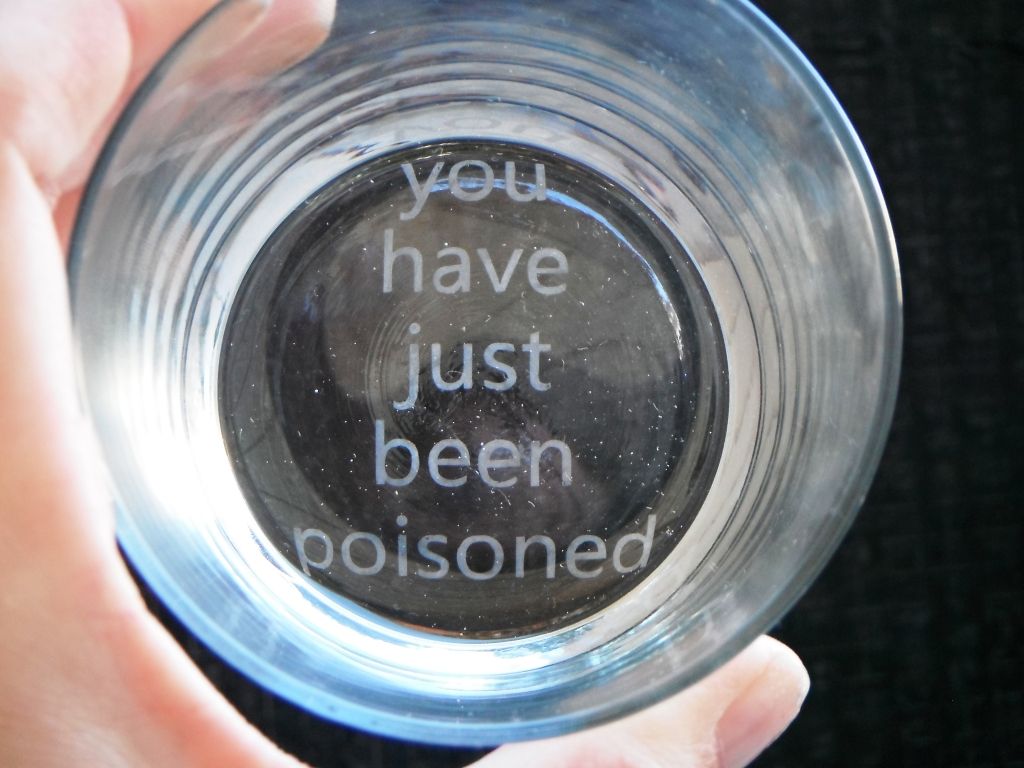
I googled warnings and came across some to use,
and Matt helped out with this one - of course ;)  we're fans of The IT Crowd so I couldn't turn down one involving Rohypnol!  gotta love Moss :)
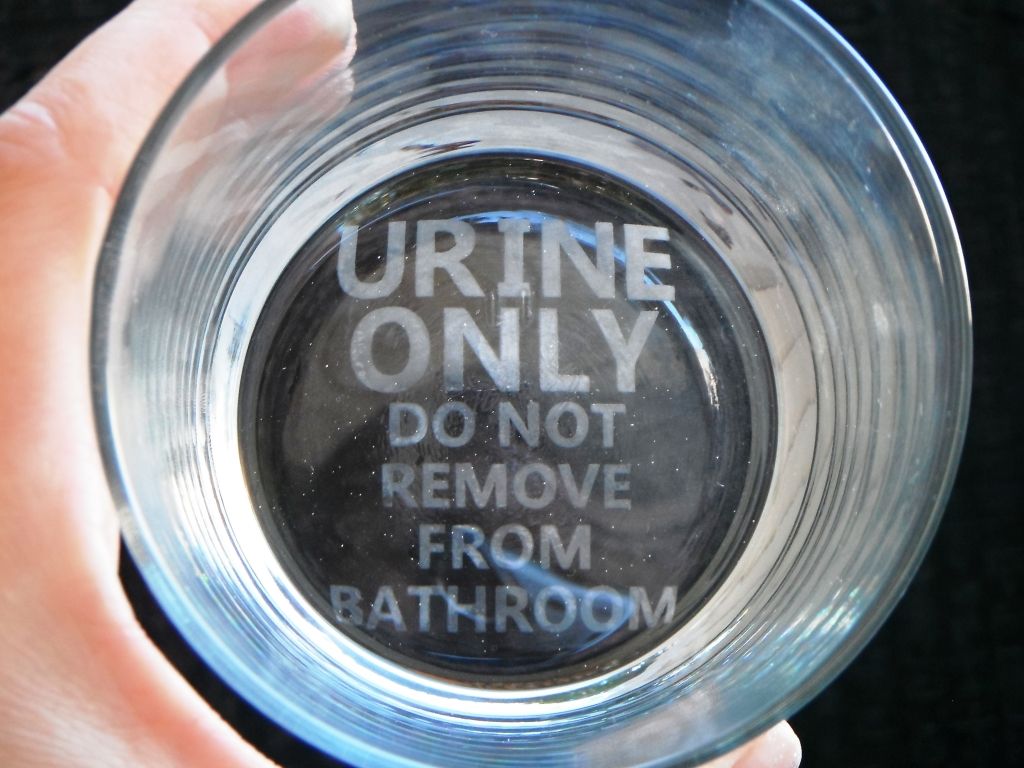
this one is probably my favorite.  it's a bit of a departure from the original idea, but still fits with the recipient's humor.

these worked up quickly and were surprisingly easy to do.  I've etched glass before and for some reason it was a big headache, but this project went very smoothly and I am excited to give them away :)

Thursday, November 1, 2012

hugs and kisses

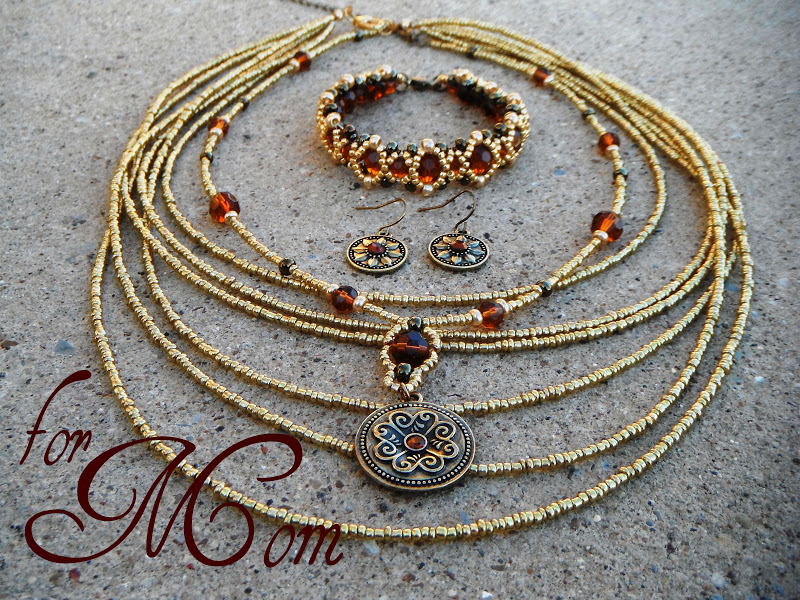
I really enjoy watching Beadifulnights' tutorials on youtube.  they're clear and easy to follow and when I bead along while watching I feel like I all of a sudden have something cool I couldn't have figured out on my own when I'm finished.  I loved the Hugs and Kisses bracelet when I saw it and wanted to try it, not really expecting it to turn out, but it did!
  
I used these earrings as color inspiration and made the bracelet to match as best as I could get it to.
  
when I was finished I decided it needed a necklace set to go with it so I searched for a pendant and found one with a couple of smaller ones that could be used as earrings that worked great with the colors of the bracelet.
it still looked like it was lacking so I added another necklace with some simple strands of beads and that did the trick! 

Thursday, September 6, 2012

pretty beans

I've been watching OneVeryHappyBird on youtube recently while eating lunch.  she has some simple and cute ideas, and her voice is soothing to listen to!  I loved the doily gift bag she made and was able to try it out finally on a bag of Boston Baked Beans for my Nana's birthday basket.
I got the candy that comes in a box since it's already in a clear bag, and I glued a small doily on top and added the tag I cut from the end of the box so she knew what they were.
I think it looks a little more special and it was quick and fun to make :)

Thursday, August 16, 2012

crochet washcloth

I crocheted some washcloths to put in a basket for my Nana's 80th birthday.  I used a natural looking ecru yarn by Sugar 'n Cream and this pattern.  with an H hook, the 2.5oz skein got me two washcloths with maybe 12" left over!  cuttin' it a little close so I'm glad I was able to make two finished washcloths and didn't have to buy another skein just for a few yards or something.  I'd like to do more but I think each one took me about two hours to do, so if I have time and get a chance I might go get another skein and make two more.
I ironed some ribbon to a piece of 8.5"x11" freezer paper and ran it through my printer to make the label so she sees that I made them for her in case I don't get to see her open the basket.  makes it cute, too :)  there's so many tutorials out there that tell you how to use your inkjet printer to print on fabric, but here's one I found that covers the basics.  I don't recommend using ribbon for smaller fonts since it spreads a little before the ink dries and looks fuzzy.  since this is just packaging, and even though I heat set it after I printed, it won't make it through the wash.  there is some kinda liquid stuff (Bubble Jet Set, I think) you can treat fabric with to make it washable after printing, but I haven't tried any yet.

Monday, May 7, 2012

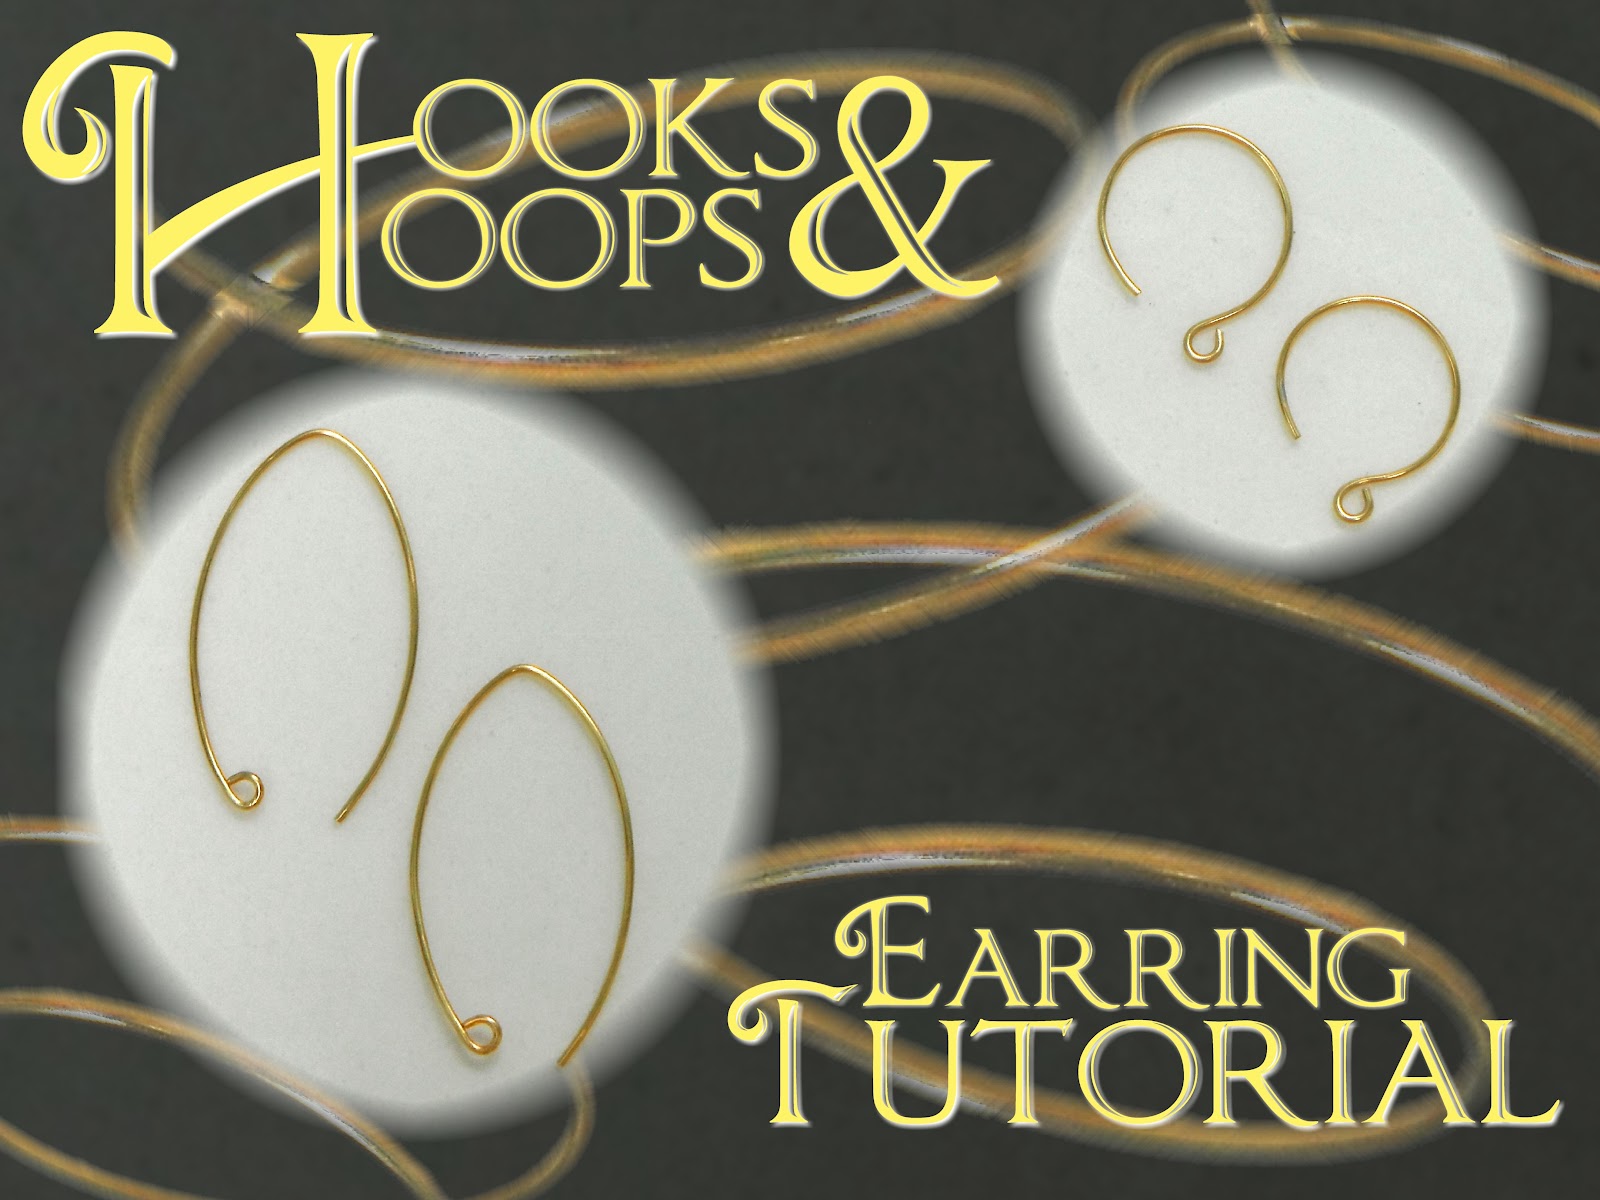
earring hook & hoop how-to

I make jewelry for my mom and Matt's mom a few times a year (birthday, Mother's Day, Christmas) and my mother-in-law likes a smaller wire hoop instead of a traditional fish hook earring, so I started making the smaller open hoops, and here's how to do it.

you'll need:
  • wire cutters
  • flat nose pliers
  • round nose pliers
  • size 13 knitting needle
  • ear wire or pre-made wire hoops
  • file (optional)

I use a pre-made wire hoop from the craft store, but you can use regular ear wire.  wrap the wire around a size 13 knitting needle so that it overlaps past the point that it makes a full loop.
trim the wire a 1/4" beyond the overlap. make a loop on the end you just cut with the round nose pliers, turning away from the opening of the hoop.  shape it so it lays flat and is open enough for your earlobe.

another earring I like to make it is an angled ear hook - it's pretty easy.
I take the pre-made hoop and stretch it out so that it still has a little curve to it.  if you're using plain ear wire cut a length that's twice as long as you want your hook to be and make a loop on the end with round nose pliers.
hold the wire between your finger and thumb and pinch so that the ends are even as they come together until they cross.
open the hook up slightly, take the flat nose pliers and turn the loop so that it's flat, then use the round nose pliers to curve the loop inward.
since I use pre-made ear hoops I don't need to finish the end that goes through the ear because it's already rounded, but if you're using ear wire by itself you'll need to file the ends so they aren't sharp.
it's a very simple way to give earrings you make (or already have) a more unique look :)