Thursday, July 31, 2014

car cookies

I saw this instructable for dashboard baking and thought it was a great idea!  it's an idea that's been around for a while, but somehow I've never seen it.  anyway, it's WAY too hot to bake anything in the house from May-October, but I could go for some baking in the car.  it's an oven that's already always going, and your car smells like fresh baked cookies, so I just had to try it and see.
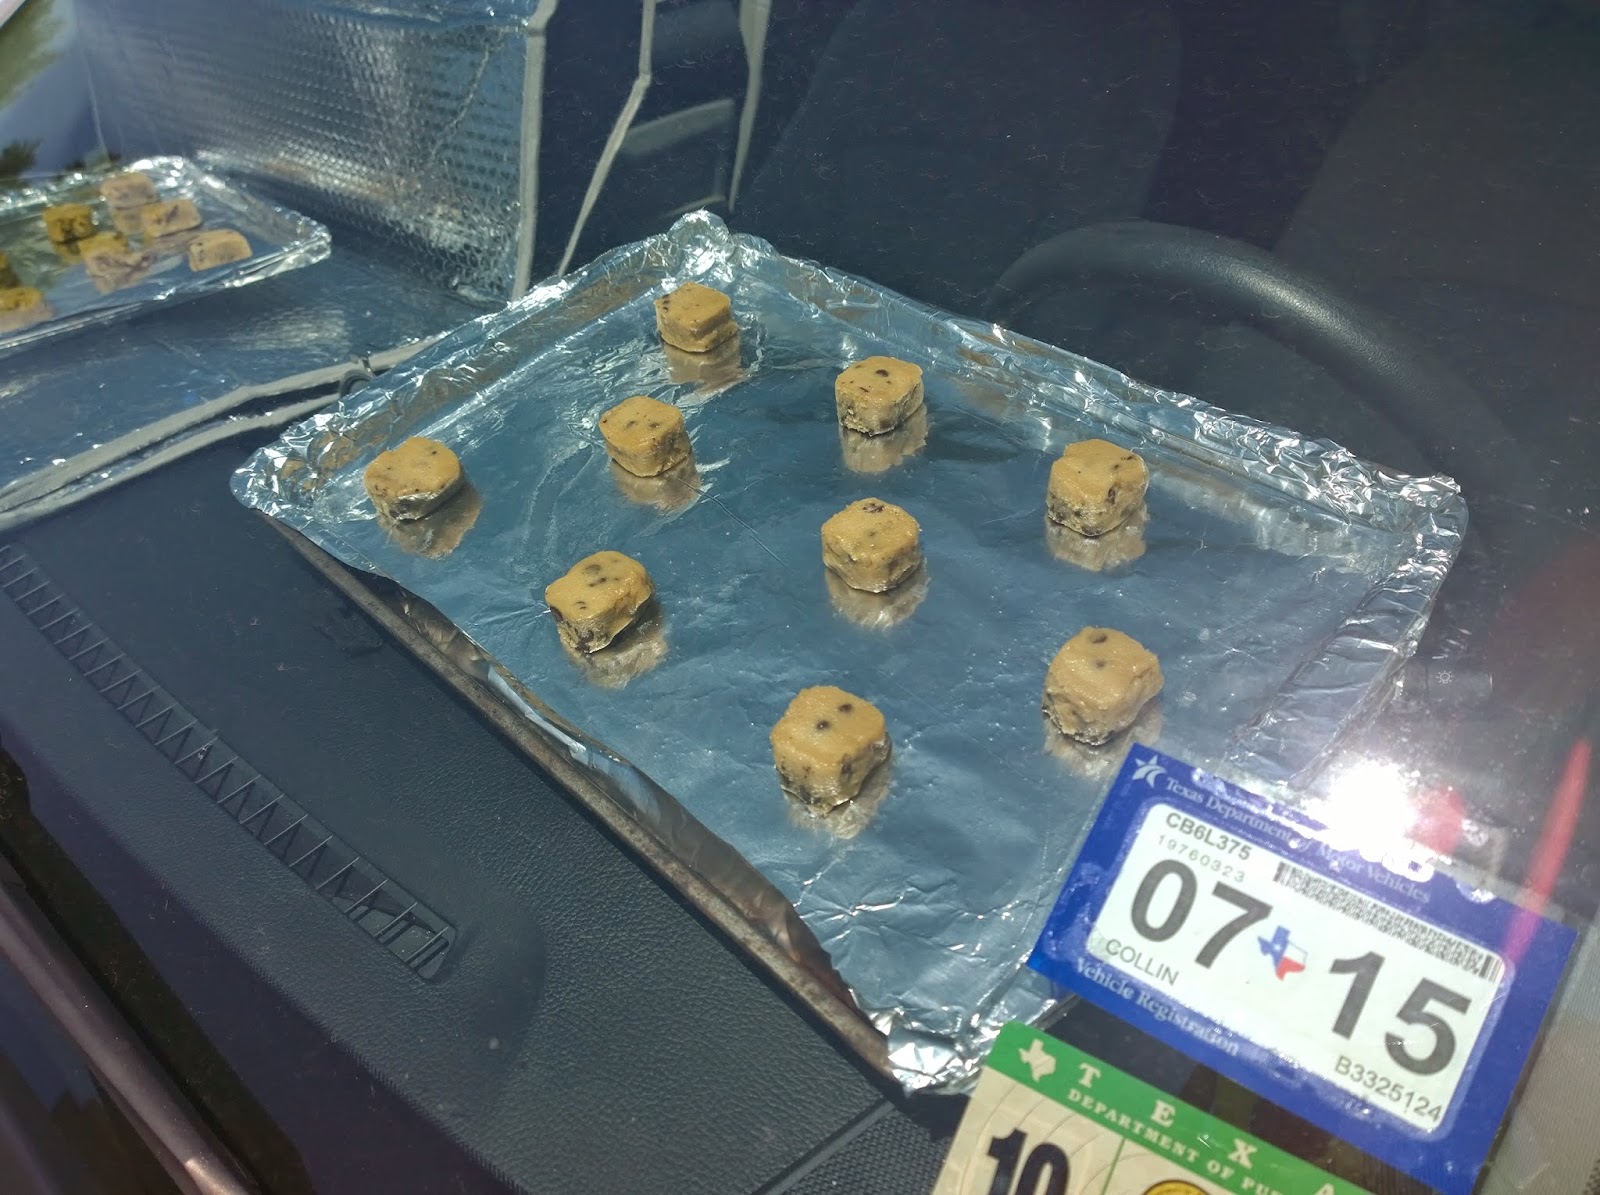
I grabbed some chocolate chip cookie dough and set up my car for baking.
 
I did a pan by itself, and one with the reflective sun screen thing around it just to see if it made a difference.
 
after 1 hour this is how they looked and the 150°F was holding steady - couldn't really tell a difference between the two pans.
 
after 2 hours they looked a little more cooked, but not quite done yet.  I think the pan with the reflector looked slightly more done at this point.
 
after 3 hours - no real difference between pans - temp still holding.
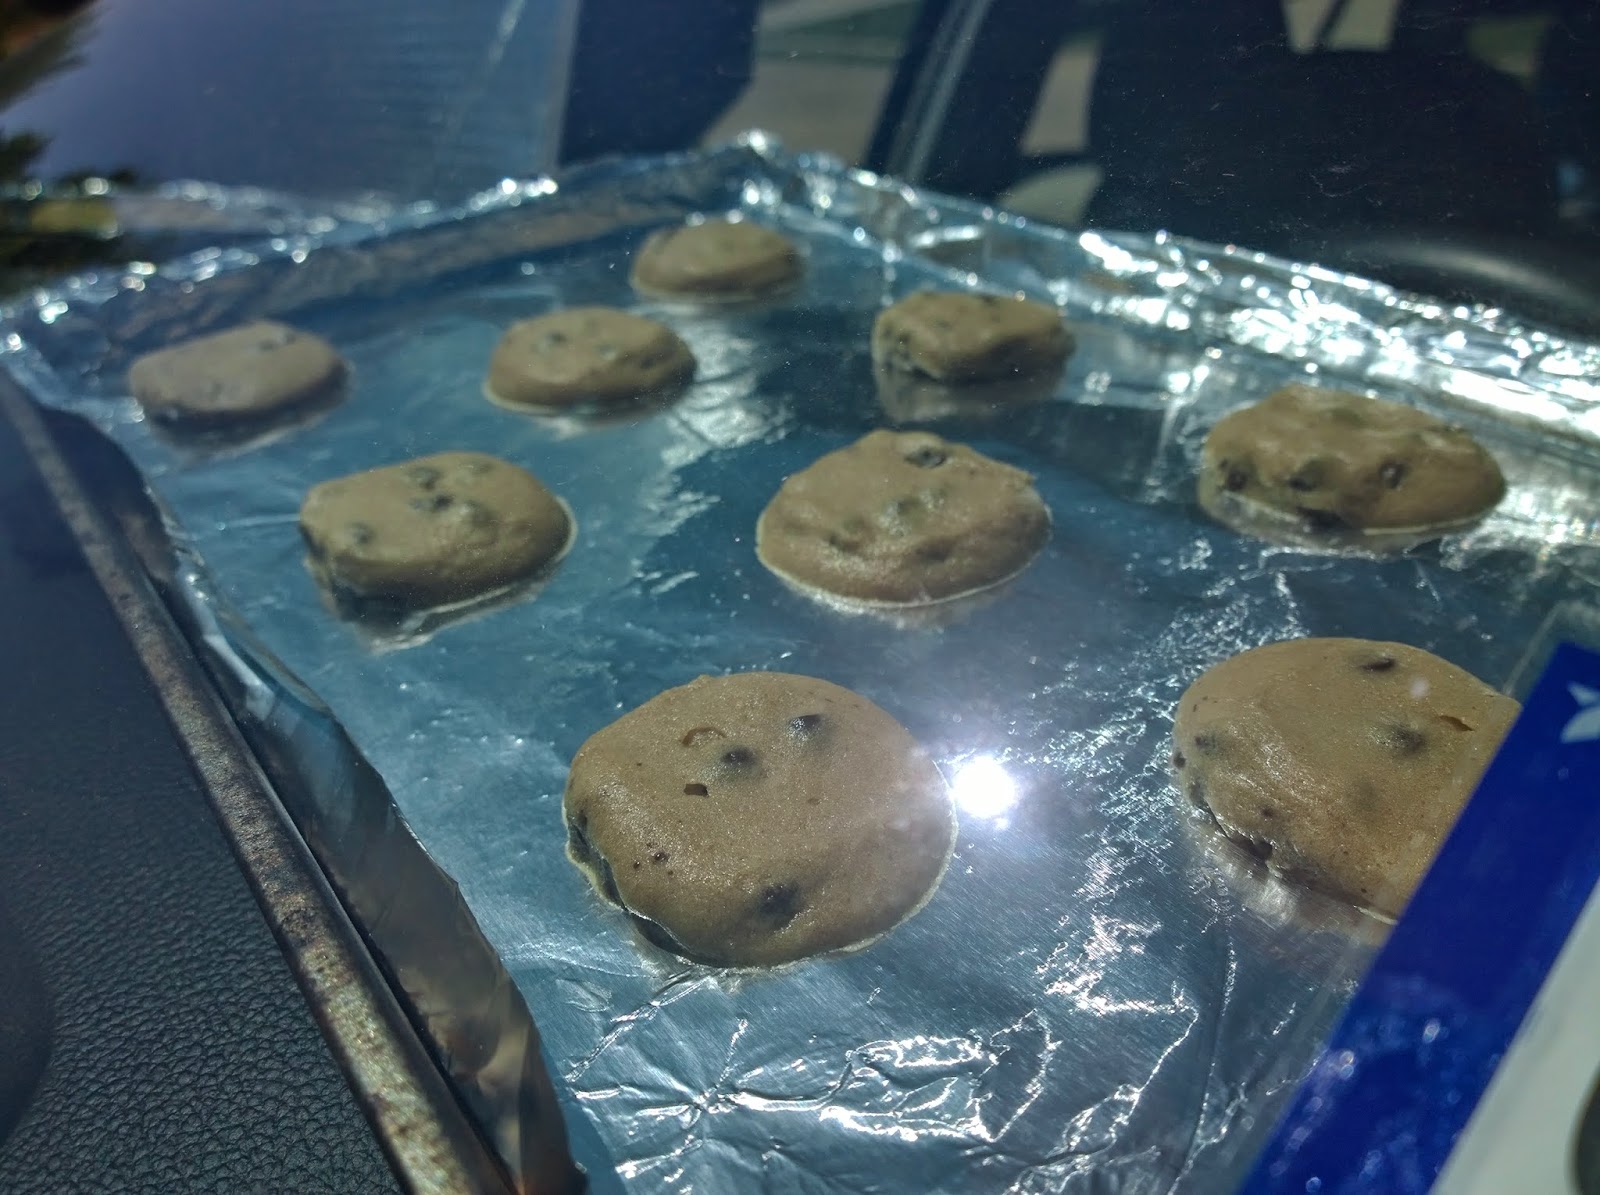
I pulled them out at 4 hours because they didn't look like they were changing anymore, and I needed to use the car.  I was hoping to see the brown bottoms like in the Instructables picture, but they just looked more dried and had these air pockets underneath... which kinda puzzled me.  they had a caramelized texture/flavor on the outside but were chewy on the inside, and they didn't feel or taste under-cooked.
I think if I wanted a more traditional cooked cookie I'd just put my toaster oven out on the patio and bake them that way if I didn't want to heat up the house in the future, but it was a cool experiment and they still tasted just fine - we ate them all that afternoon!

Thursday, July 24, 2014

quilt-as-you-go

I made a toddler size quilt out of some fabric that already had a pieced look to it.  the fabric I was given wasn't big enough to be the top by itself, so I added more squares to it and tried quilt as you go with this joining method from the Gourmet Quilter.
I'm not a rainbow and bright colors kinda person, but I really like making bold colored quilts like this, especially paired with black to make everything pop.
compared to traditional quilting like I did on my crazy quilt, it's definitely easier to work on smaller squares to join them up later.  it's also a great way to use up smaller pieces of fabric because you don't have to have a large solid backing, and you have the option for a reversible quilt.  this would make a great group project as well.  so many wins for this one!  I will keep this in mind for future quilts.

Thursday, July 17, 2014

pillowcase dresses

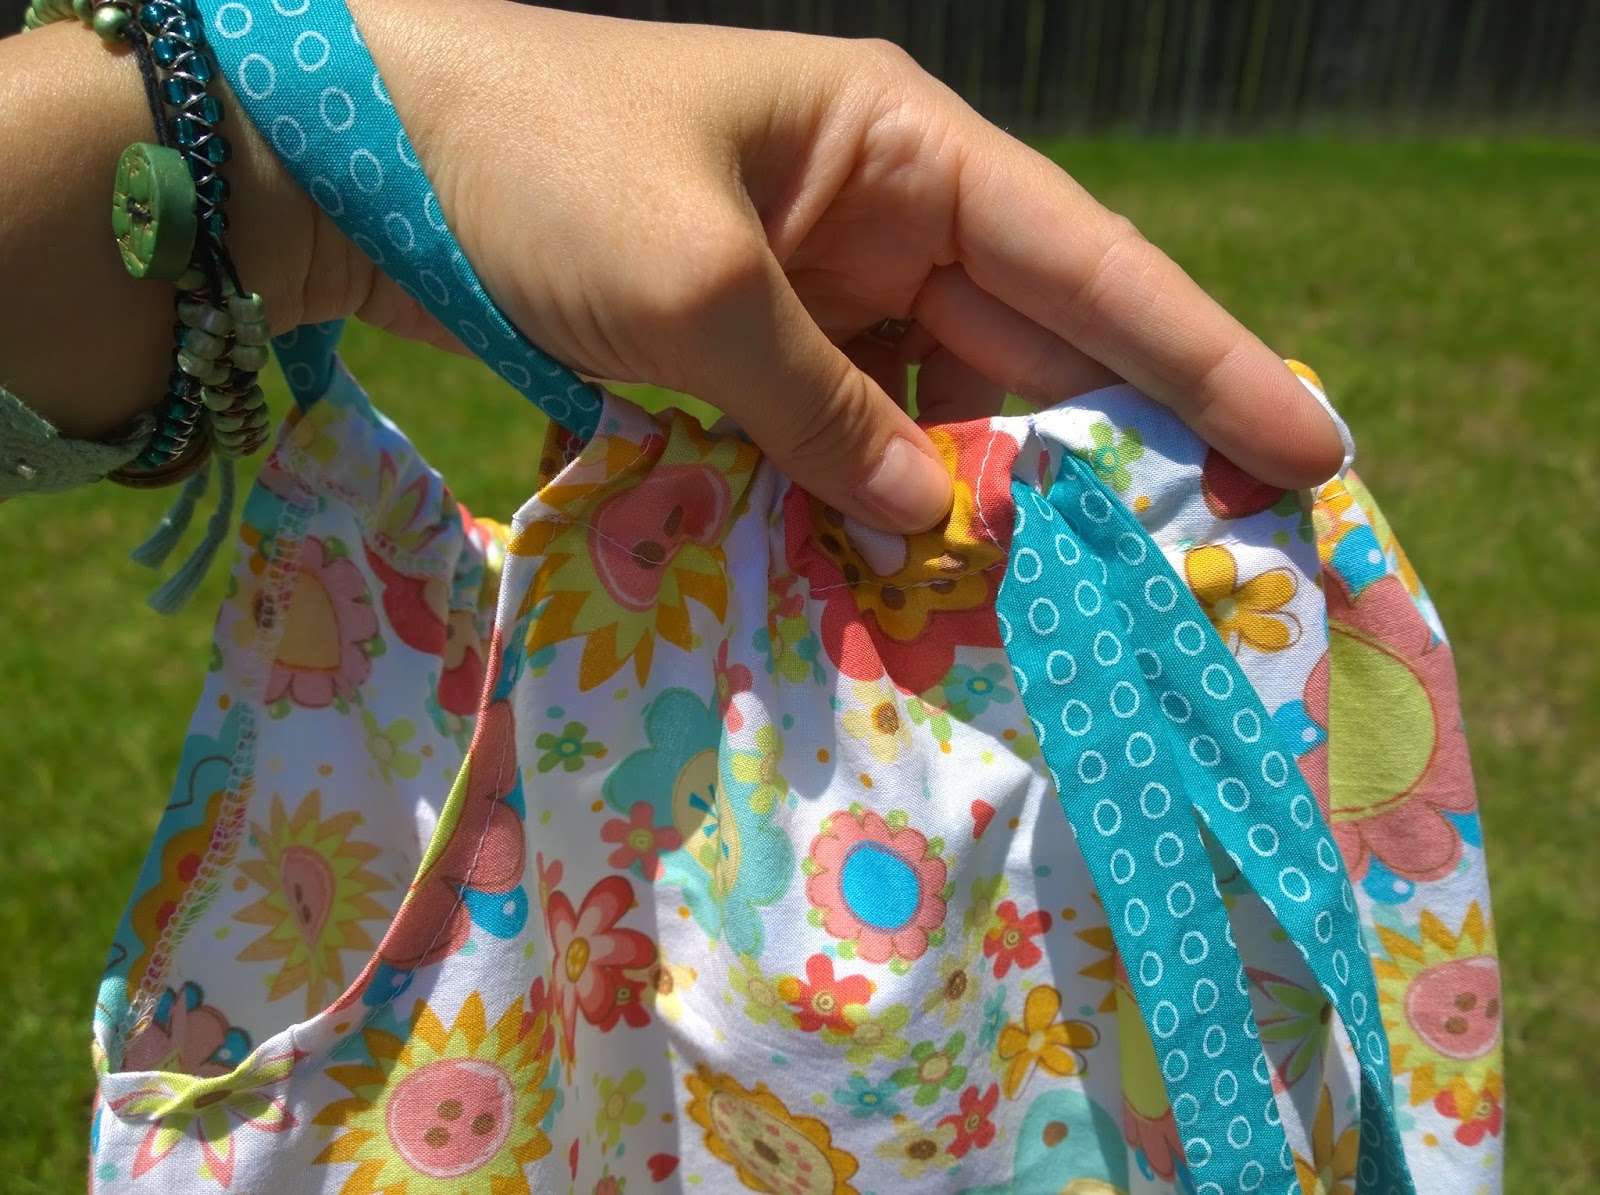
I helped make pillowcase dresses that went to Colombia earlier this week.  we completed 84 - yay us!  these are very simple to make and super cute. Hobby Lobby has an easy to follow video on making these, and a size chart for size 2T up to 8.
I surged the raw edges and turned them under instead of using bias tape under the arms because I wanted to crank out as many as possible.  don't panic if it looks bunched up and funny after sewing the fabric under the arms - once it's ironed it lays flat and it's fine.
  
something else I do different than the pattern is making the ties come out the center back of the casing instead of tying at the shoulder.  I thought it'd be harder for the younger ones to try to pull at the bow if they couldn't easily reach it, but the strap can be shifted to tie at the shoulder for the older ones that dress themselves.
the deal was cookies for a picture, and to not tell daddy what we did that afternoon!
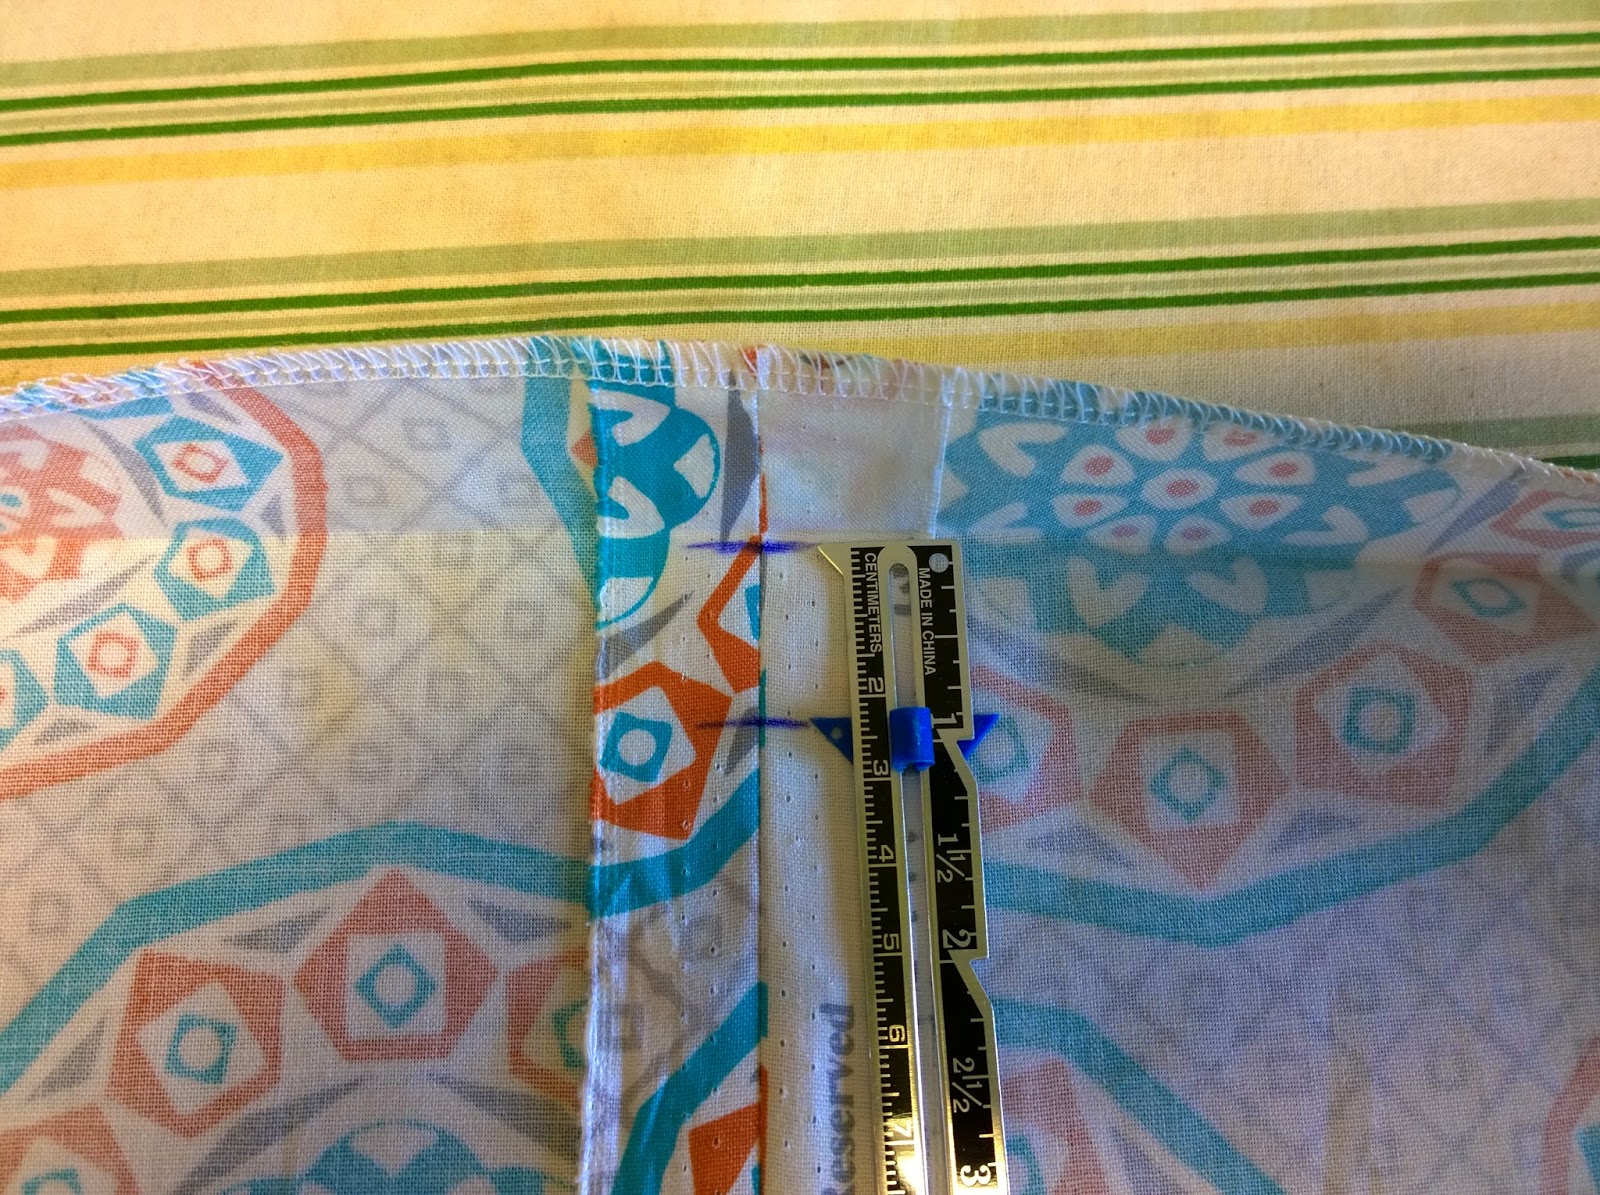
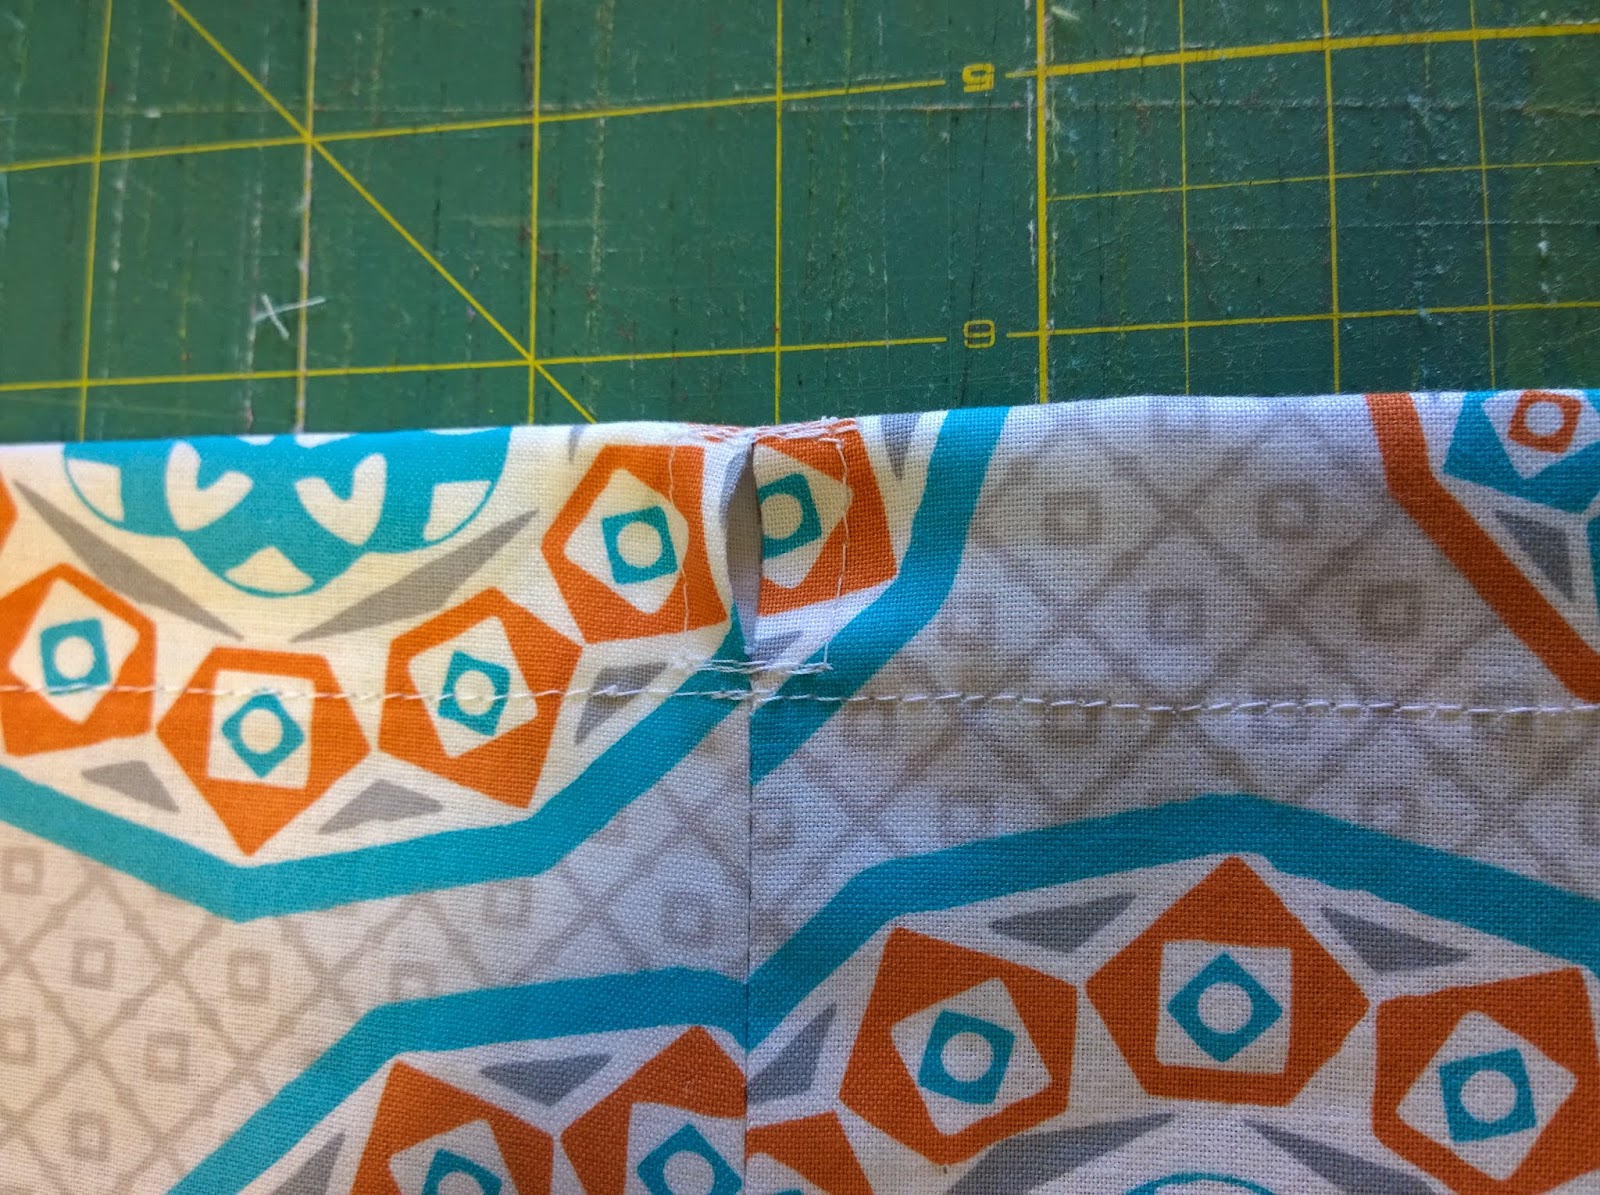
I iron down the top edge 1", open it up and mark two lines within the casing, and sew a rectangle in the back seam making sure to reinforce at the top and bottom so the seam doesn't come undone.
  
I separate the seam and clip the stitches within the rectangle I just sewed to make the opening for the strap ends to come out of, then stitch the casing down.
  
these are the cute projects I miss out on when only having boys, so hopefully there are some girls in our future so I don't scar my sons with memories of trying on girlie things...even if it is for a good cause ;)

Thursday, July 10, 2014

seed beads and jump rings bracelet

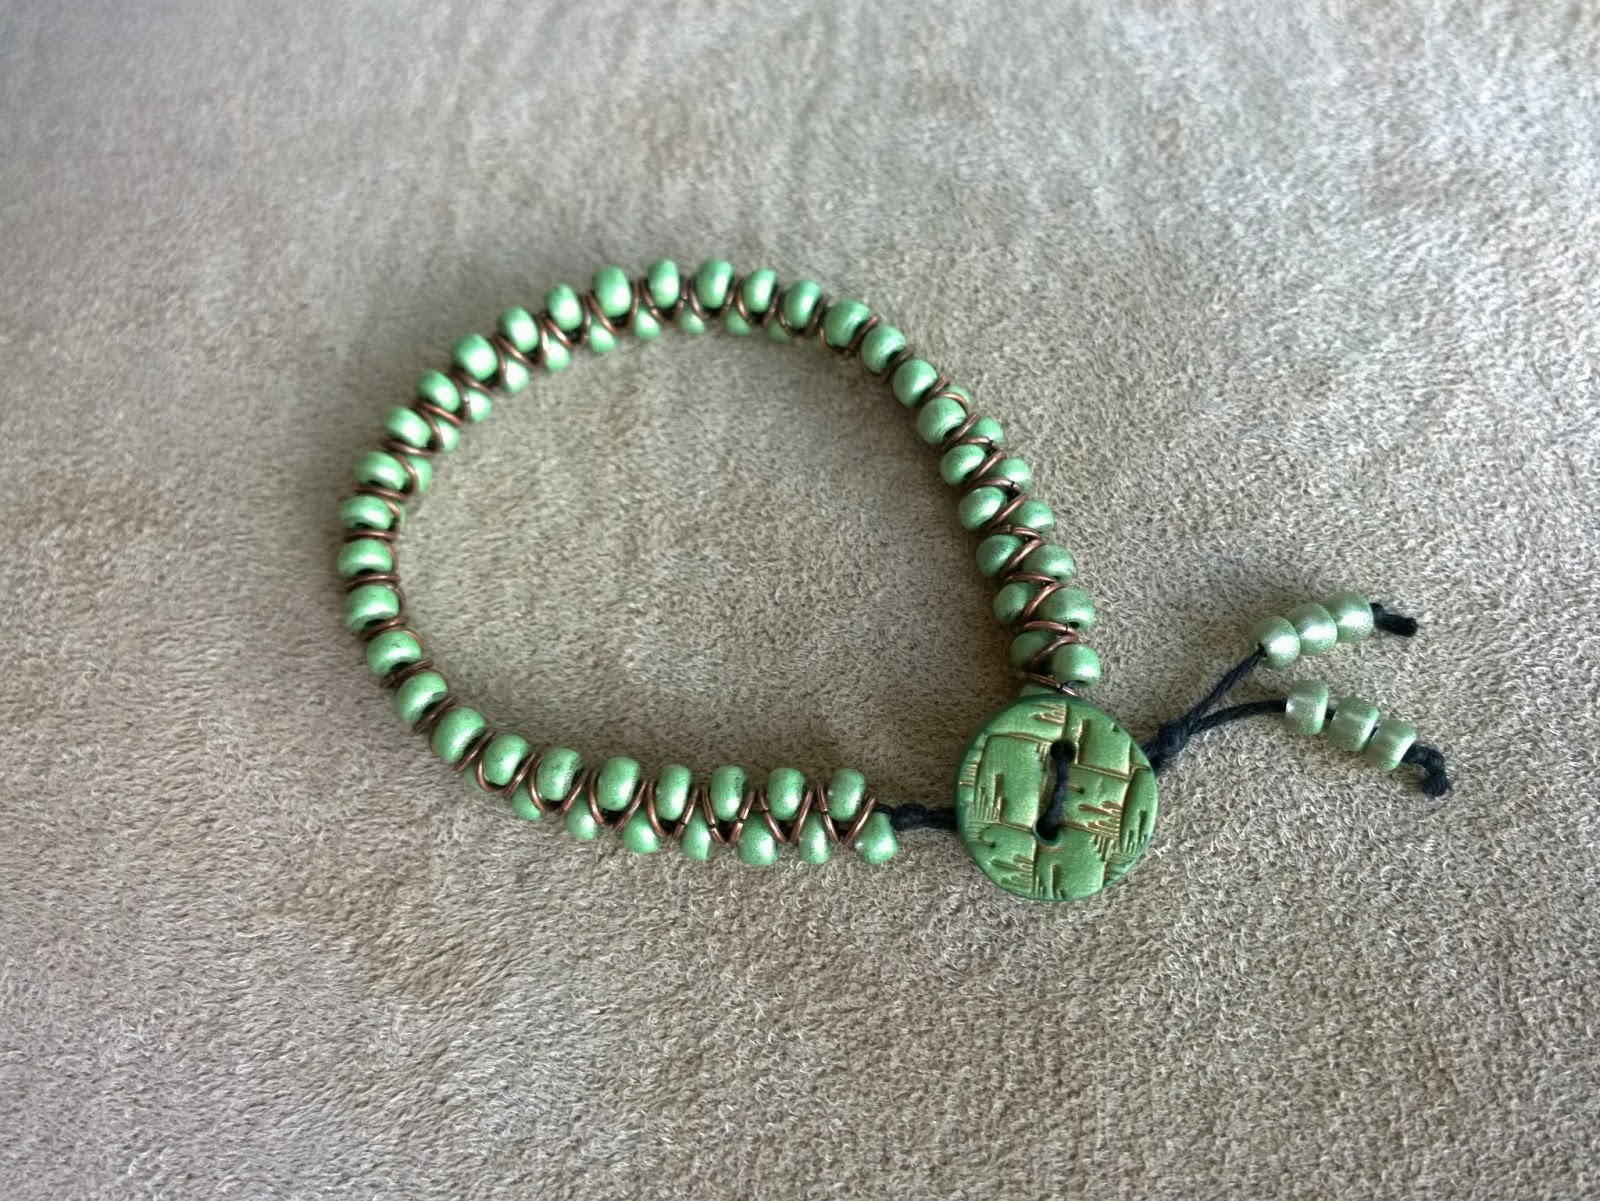
I got a bracelet from a wool shop in Ireland that I just love.  I did a search and found out Lesley from The Gossiping Goddess came up with this one (it's at the bottom of her tutorial page).
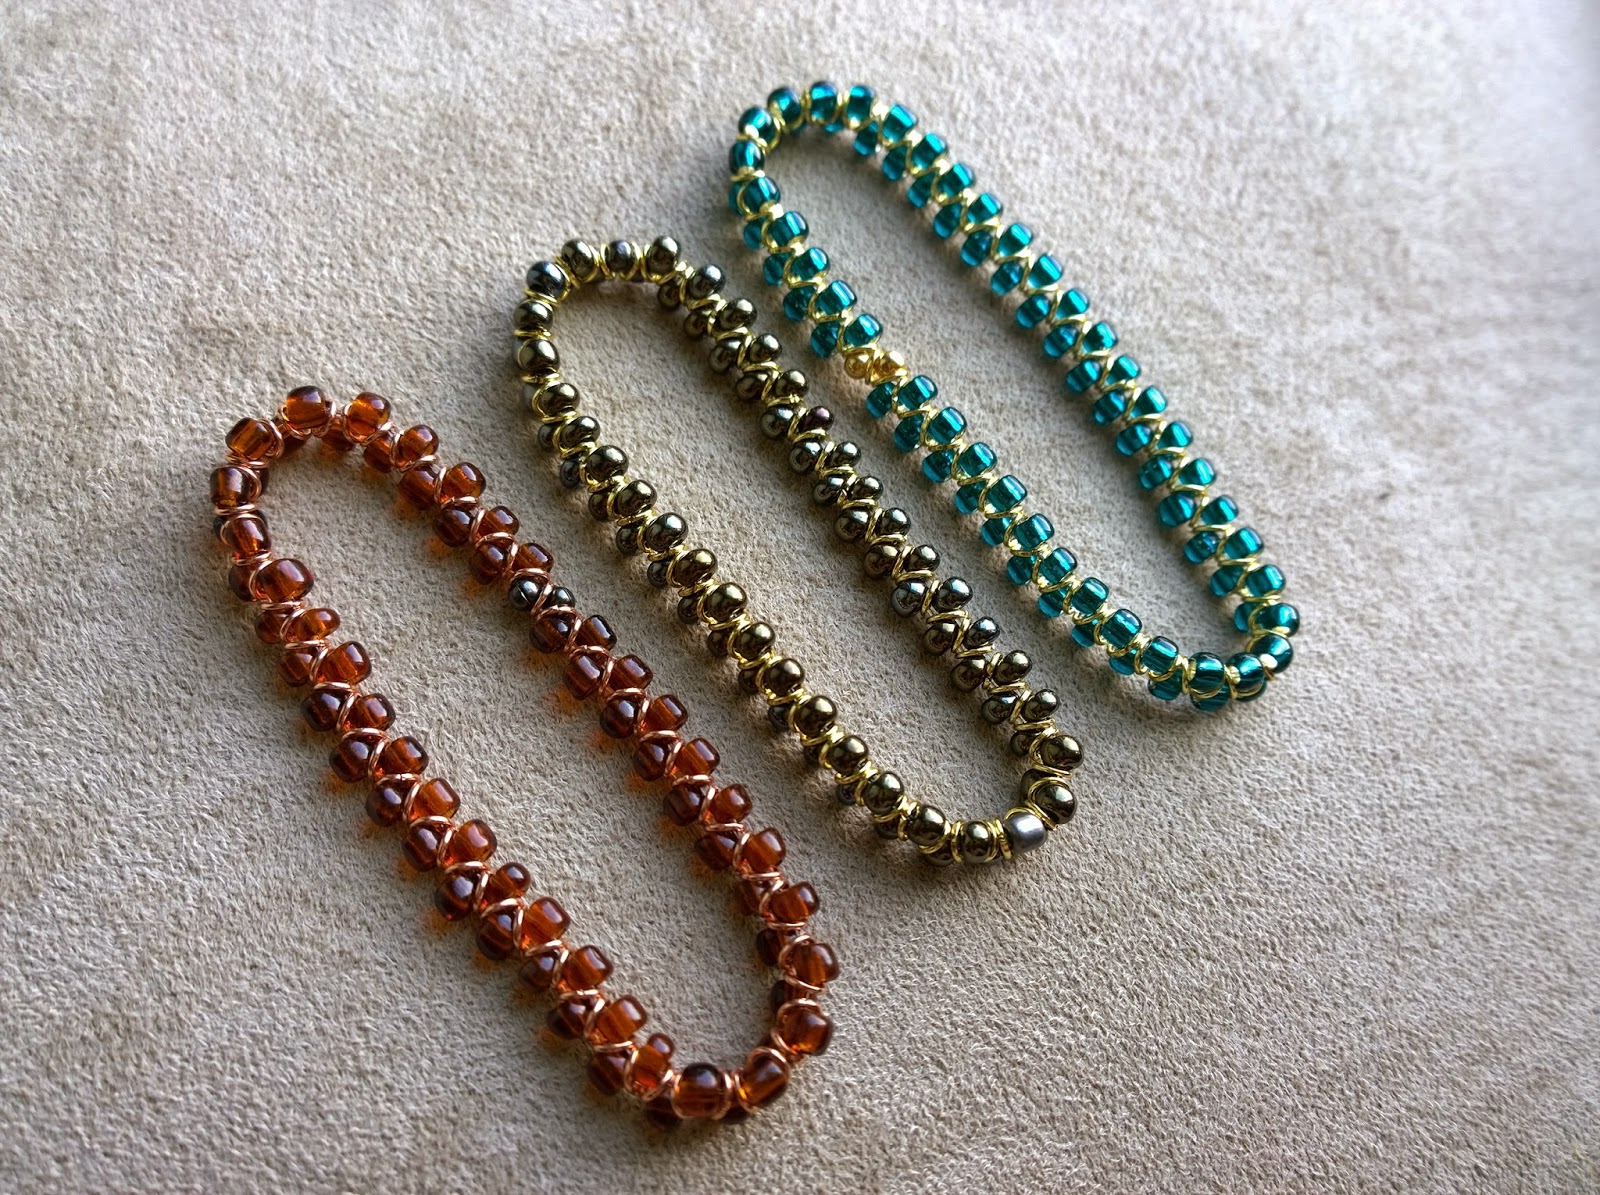
I love how it feels, so I thought I'd try to make another like it... but I ended up making quite a few!
I used 6/0 seed beads and 4mm jump rings, which were the closest to the suggested sizes I could find.  because the jump rings were so small the cording needed to be thin.  I tried embroidery floss and hemp cord - I like the feel of the embroidery floss, but the hemp cord might hold up better.

I also did a few with stretch cord, but they were a little trickier - I like the seamless look and how easy they are to put on, though.