Thursday, May 17, 2012

t-shirt refashion how-to

I got this shirt a few years ago with the intention of making it over.  after wearing it as-is for a while I finally changed it up, and it was so simple I wish I had done it forever ago!

supplies needed:
  • 2 t-shirts (or 1 t-shirt and scrap fabric of the same or similar fabric type)
  • sewing machine
  • scissors
lay the shirt flat, line up the seams at the shoulders and smooth down to the under arms. cut through both layers following the curve of the sleeve and taper in toward the neckline. cut the shoulders apart, fold the front down and re-cut the back so it's more narrow than the front.
pull the top part back up and trim the front so that it follows the back angle if you want to use the neckband as your casing, but I didn't like how it gathered so I cut off the neck band from the front and back making the front more of a straight line.
sew a hem on both sides going from the front to the back (or just leave it unfinished), then fold over 1/2" on the front and sew that down to make the front casing.
for the back casing cut a scrap of fabric to the same width as the back of the unfinished part of the top of the shirt (remember to add some for the seam allowances) and twice as wide as you want your casing to be.  if you want the back of the shirt higher make the casing long, and if you want it lower in back make the casing shorter. hem the sides of the scrap and fold in half.  with the unfinished edges together, line up with the raw edge of the shirt and sew across (I don't have a picture of that - sorry!) then flatten out the seam and sew across so that it lays flat.
braid 3 straps of the scrap together, sewing across the ends and cutting them straight.  put a safety pin on one end and fish it through the casing on the front and back of the shirt (no pic for this either) and mark where to cut it so the straps are the right length. straighten out the braid so it's not twisted and stitch both ends together so they're flat, and pull it back through the front casing to hide the join.
this step is optional:  take more scrap fabric and make a band for the bottom by cutting two rectangles that measure half of your hips (or wherever the shirt hits you) plus 1/2" for seam allowance, and twice as wide as you want the band to be.  put the rectangles right sides together (I used the wrong side of the fabric for mine) and sew along the short sides, then turn the tube down in half to make the folded edge.
insert the shirt into the tube so that the raw edges of the band line up with the bottom of the shirt, pin at the side seams and find the halfway points of the front and back on the band and the shirt and pin those spots together. stretch the band as you sew to make the fabric line up, then turn the band down.
I love the design of this shirt and will be making more of these for the summer :)

Monday, May 14, 2012

2012 Mixbooks

I did photo books for our mothers last year, and I told myself I'd work on the next ones along the way so I'd be ready for Mother's Day this year... didn't happen, but I was still able to throw a couple together and get them ordered in time! I didn't put as many "stickers" in these books, but I had a lot more pictures to arrange. I still like how they came out.


Thursday, May 10, 2012

knot for Leo

I made Leo some friendship bracelets to wear last summer that are now framed and up on my Leo wall of fame in the living room.
he was a sport and wore them for 4 months without a problem! I'm trying to make it a summer tradition to make him new ones every year and these are what I did for 2012.
the top one is a zigzag pattern in yellow and black, the middle one is basic letters that I made on a grid, and the bottom one is a 5-strand flat braid like I did on my flip flops strap. I finished them all off by leaving tails to tie together that I fishtail(or fishbone?) braided.
I tried the same 5-strand flat braid with 7 strands for a friend. I'm sure it could be done with many more and I want to try a really wide one... some day.
I was worried that because Leo's older he might mess with them, but he actually seemed excited to wear them (maybe he remembers) and sat still with his arm out for me to put them on! he doesn't seem to notice they're there now.

if you're new to friendship bracelets, here are the 4 basic knots:


Monday, May 7, 2012

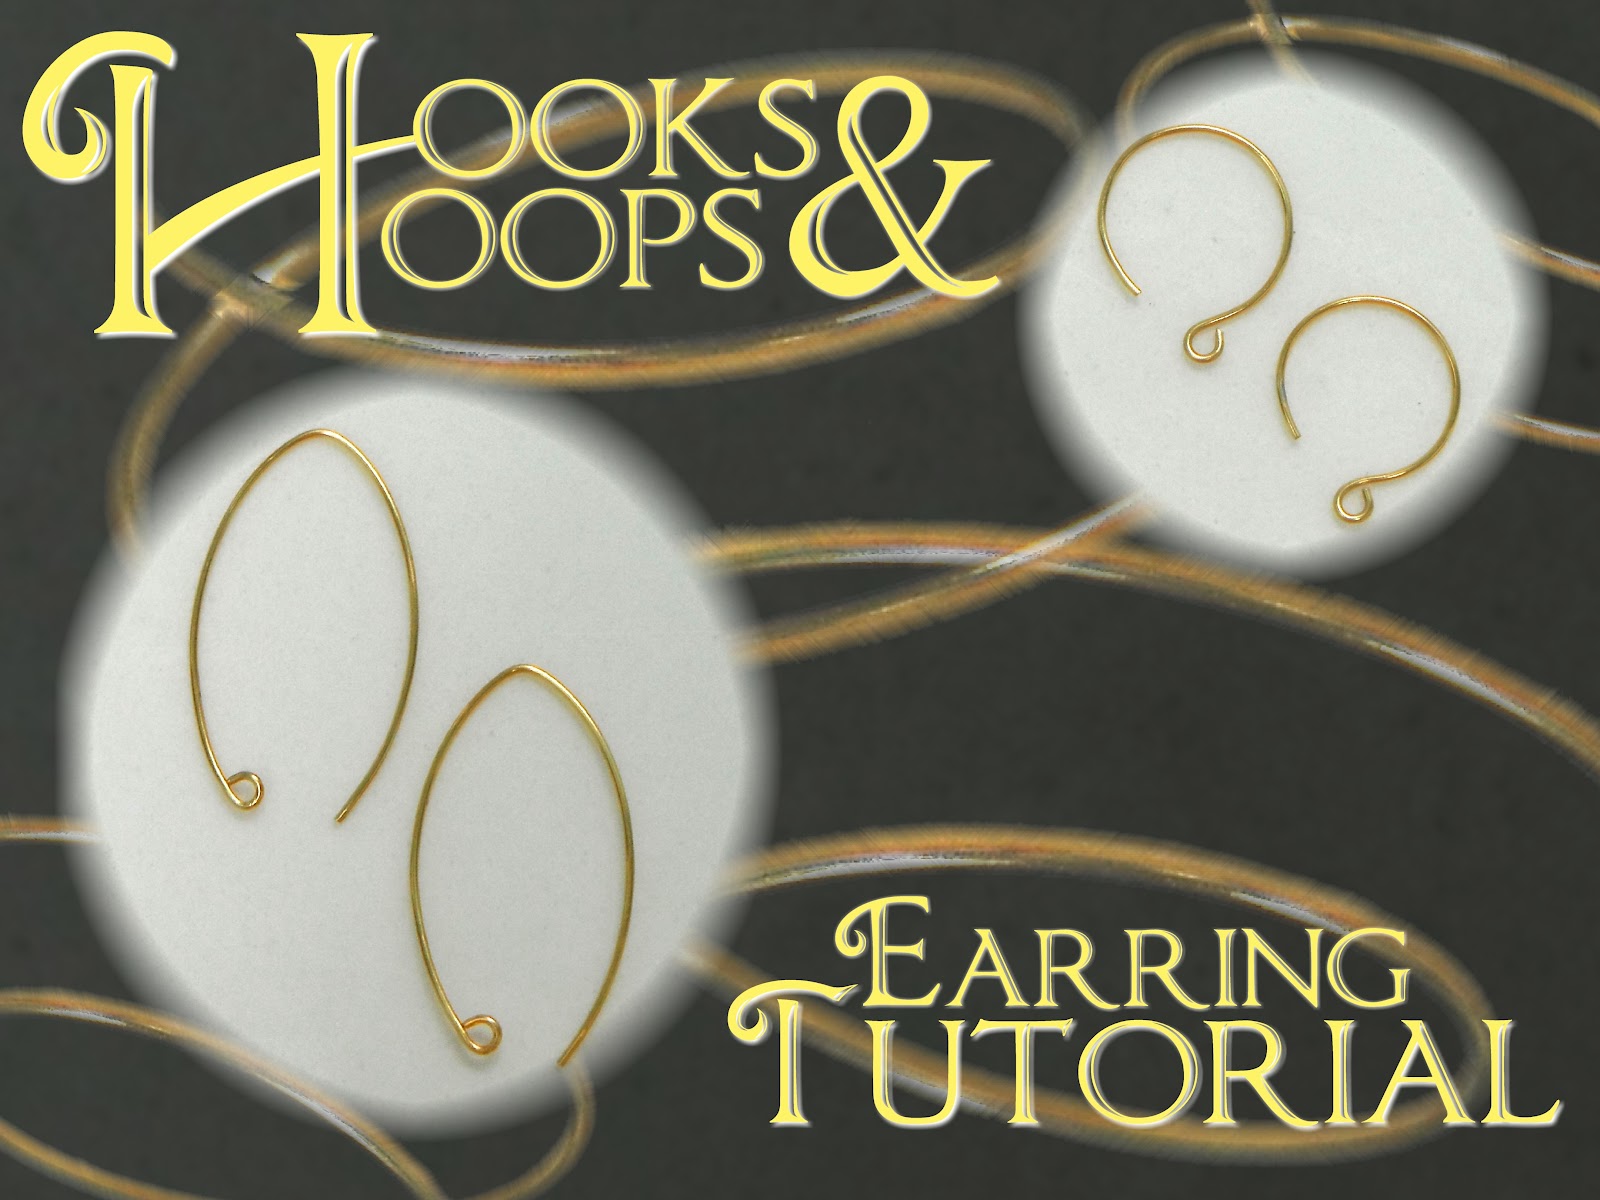
earring hook & hoop how-to

I make jewelry for my mom and Matt's mom a few times a year (birthday, Mother's Day, Christmas) and my mother-in-law likes a smaller wire hoop instead of a traditional fish hook earring, so I started making the smaller open hoops, and here's how to do it.

you'll need:
  • wire cutters
  • flat nose pliers
  • round nose pliers
  • size 13 knitting needle
  • ear wire or pre-made wire hoops
  • file (optional)

I use a pre-made wire hoop from the craft store, but you can use regular ear wire.  wrap the wire around a size 13 knitting needle so that it overlaps past the point that it makes a full loop.
trim the wire a 1/4" beyond the overlap. make a loop on the end you just cut with the round nose pliers, turning away from the opening of the hoop.  shape it so it lays flat and is open enough for your earlobe.

another earring I like to make it is an angled ear hook - it's pretty easy.
I take the pre-made hoop and stretch it out so that it still has a little curve to it.  if you're using plain ear wire cut a length that's twice as long as you want your hook to be and make a loop on the end with round nose pliers.
hold the wire between your finger and thumb and pinch so that the ends are even as they come together until they cross.
open the hook up slightly, take the flat nose pliers and turn the loop so that it's flat, then use the round nose pliers to curve the loop inward.
since I use pre-made ear hoops I don't need to finish the end that goes through the ear because it's already rounded, but if you're using ear wire by itself you'll need to file the ends so they aren't sharp.
it's a very simple way to give earrings you make (or already have) a more unique look :)

Thursday, May 3, 2012

another ongoing crochet project

I started this blanket when I was working on my doily rug and ran out of yarn but was still in a blanket mood. I remembered I had a bunch of green yarn I didn't know what to do with, so I started a blanket I could mindlessly work on when I watched TV in the evening with Matt. we got into Downton Abbey when season 1 showed up on Netflix, which is not something I'd normally watch but I really enjoyed it!

I'd say I'm about 1/4 - 1/3 of the way through this blanket and I love it the bigger it gets. Leo does, too. I was working on in beside him while we watched TV and he rested his head on it and laid still for a while. he's always liked soft things on his face and it made me feel good that he enjoyed the beginnings of this blanket :) it's got a very comforting feeling to it and I hope I have it done by the end of the year.

here's how to do the basket weave:

Monday, April 30, 2012

flowers in progress


after I learned to make the crochet flowers for the headbands I made to go with the baby slippers, I thought it'd be cool to make a bunch and connect them to make a throw blanket.
I don't have a plan yet on how to put them together... so maybe I'll come up with something by the time I have enough!

I've only been doing two layers so they work up pretty quick. I can whip up a few in the evenings while watching TV or out in the backyard while Leo runs around. I love watching my stash grow :)

Thursday, April 26, 2012

hook roll tutorial

I made this crochet hook roll from a place mat I found at World Market and some leftover bias tape I had. it was easy to do and came out exactly how I wanted.

you'll need:
- place mat
- bias tape twice as long as the width of your place mat (optional)
- sewing machine
- matching thread(s)

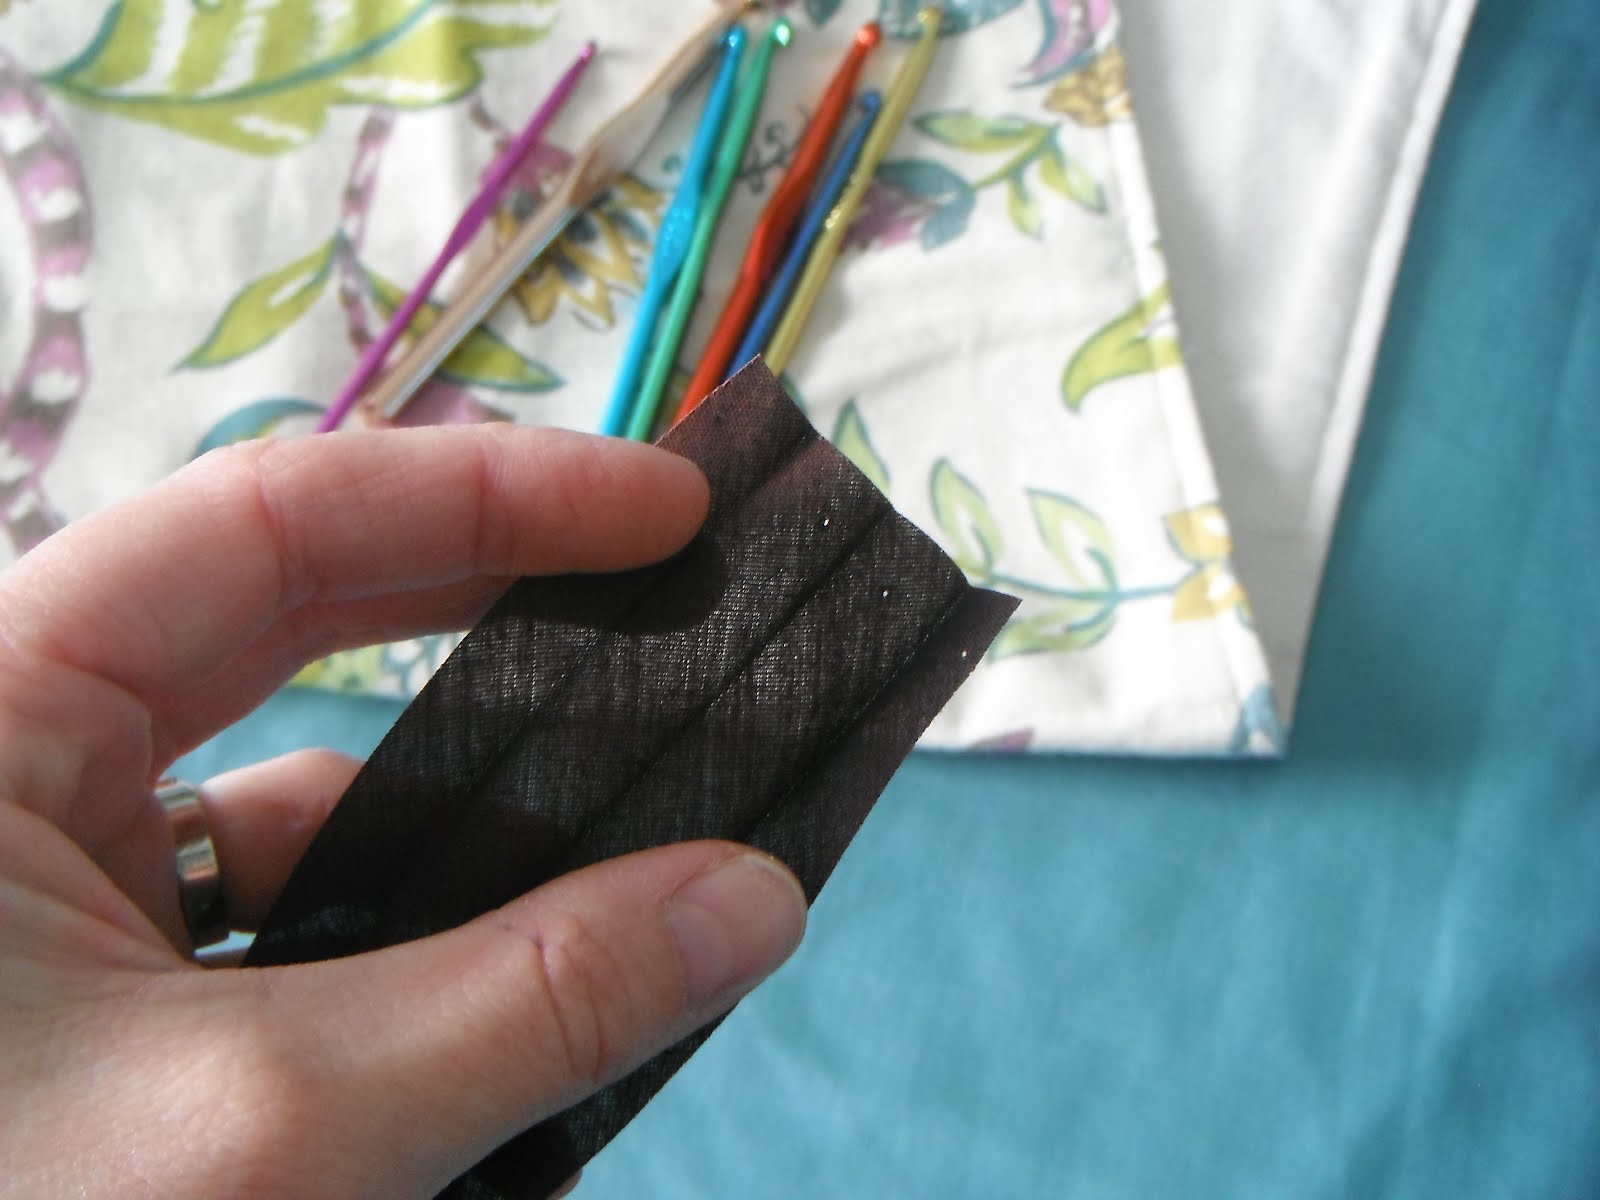
open up the bias tape and fold it backwards in half, sew from the middle to the folded edge only and trim the corners so it can fold back up and not be too bulky.

place the finished edge of the bias tape over the corner of the place mat and sew from that corner all the way down the length of the rest of the bias tape, finishing off the other edge by folding it under before sewing it down.
if you don't want to use bias tape, you can just stitch some ribbon to one edge of the place mat to tie it off.

fold up the bottom edge as high as you need it (I measured based on the length of my hooks), line up the edges, pin, and sew down both sides.


measure the opening between the lines stitched down the sides and divide it up how you want it for the size hooks or whatever you'll put in it.

you can mark the lines with a fabric pen or chalk. I just pinned each spot and creased the fabric line at a time with my straight edge before I sewed each one. you can also eye-ball it if you can sew a good straight line.


this one was for my mother-in-law so I'll definitely be making another for myself!